Getting Started
Get your first display up and running in under 60 seconds. No technical expertise required.
Supported Hardware
Brix works with most common display hardware. Download the Brix Player app on any of these platforms:
Adding Your First Display
Pairing a display takes about 60 seconds. Here's how:
portal.brixsignage.com and sign in to your account.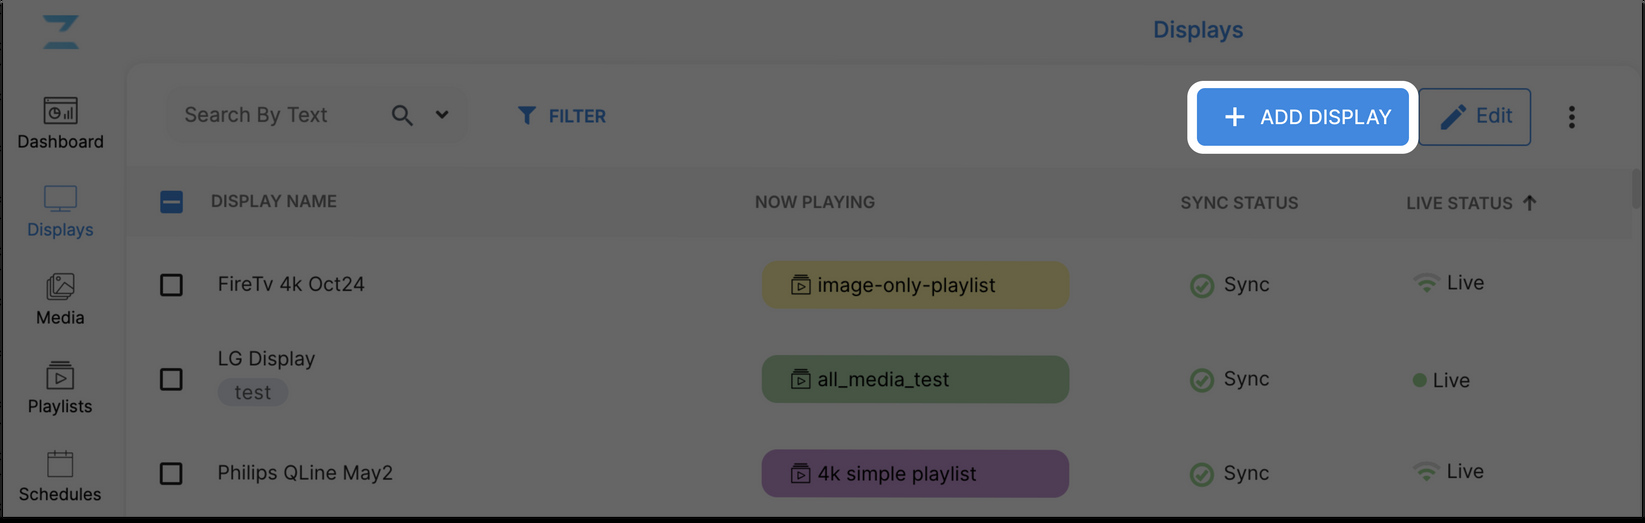
Amazon Signage Stick
Complete setup instructions for getting your Amazon Signage Stick connected and running with Brix.
What You'll Need
- Amazon Signage Stick, power cable, and power adapter
- A TV or display with an HDMI port (must support HDCP)
- Wi-Fi network name and password
- An Amazon account
- Mobile device with Bluetooth (for app setup) OR the included remote
Option 1: Mobile App Setup (Recommended)
The fastest way to set up your Signage Stick is using the Amazon Signage mobile app.
Option 2: Remote Setup
If you prefer using the physical remote, follow these steps instead.
Next Steps
Once your Signage Stick shows the Brix screen, you're ready to:
- Add your display in the Brix portal (it should appear automatically)
- Upload media to your library
- Create a playlist and assign it to your screen
Media Library
Upload, organize, and manage all your content in one place.
Uploading Media
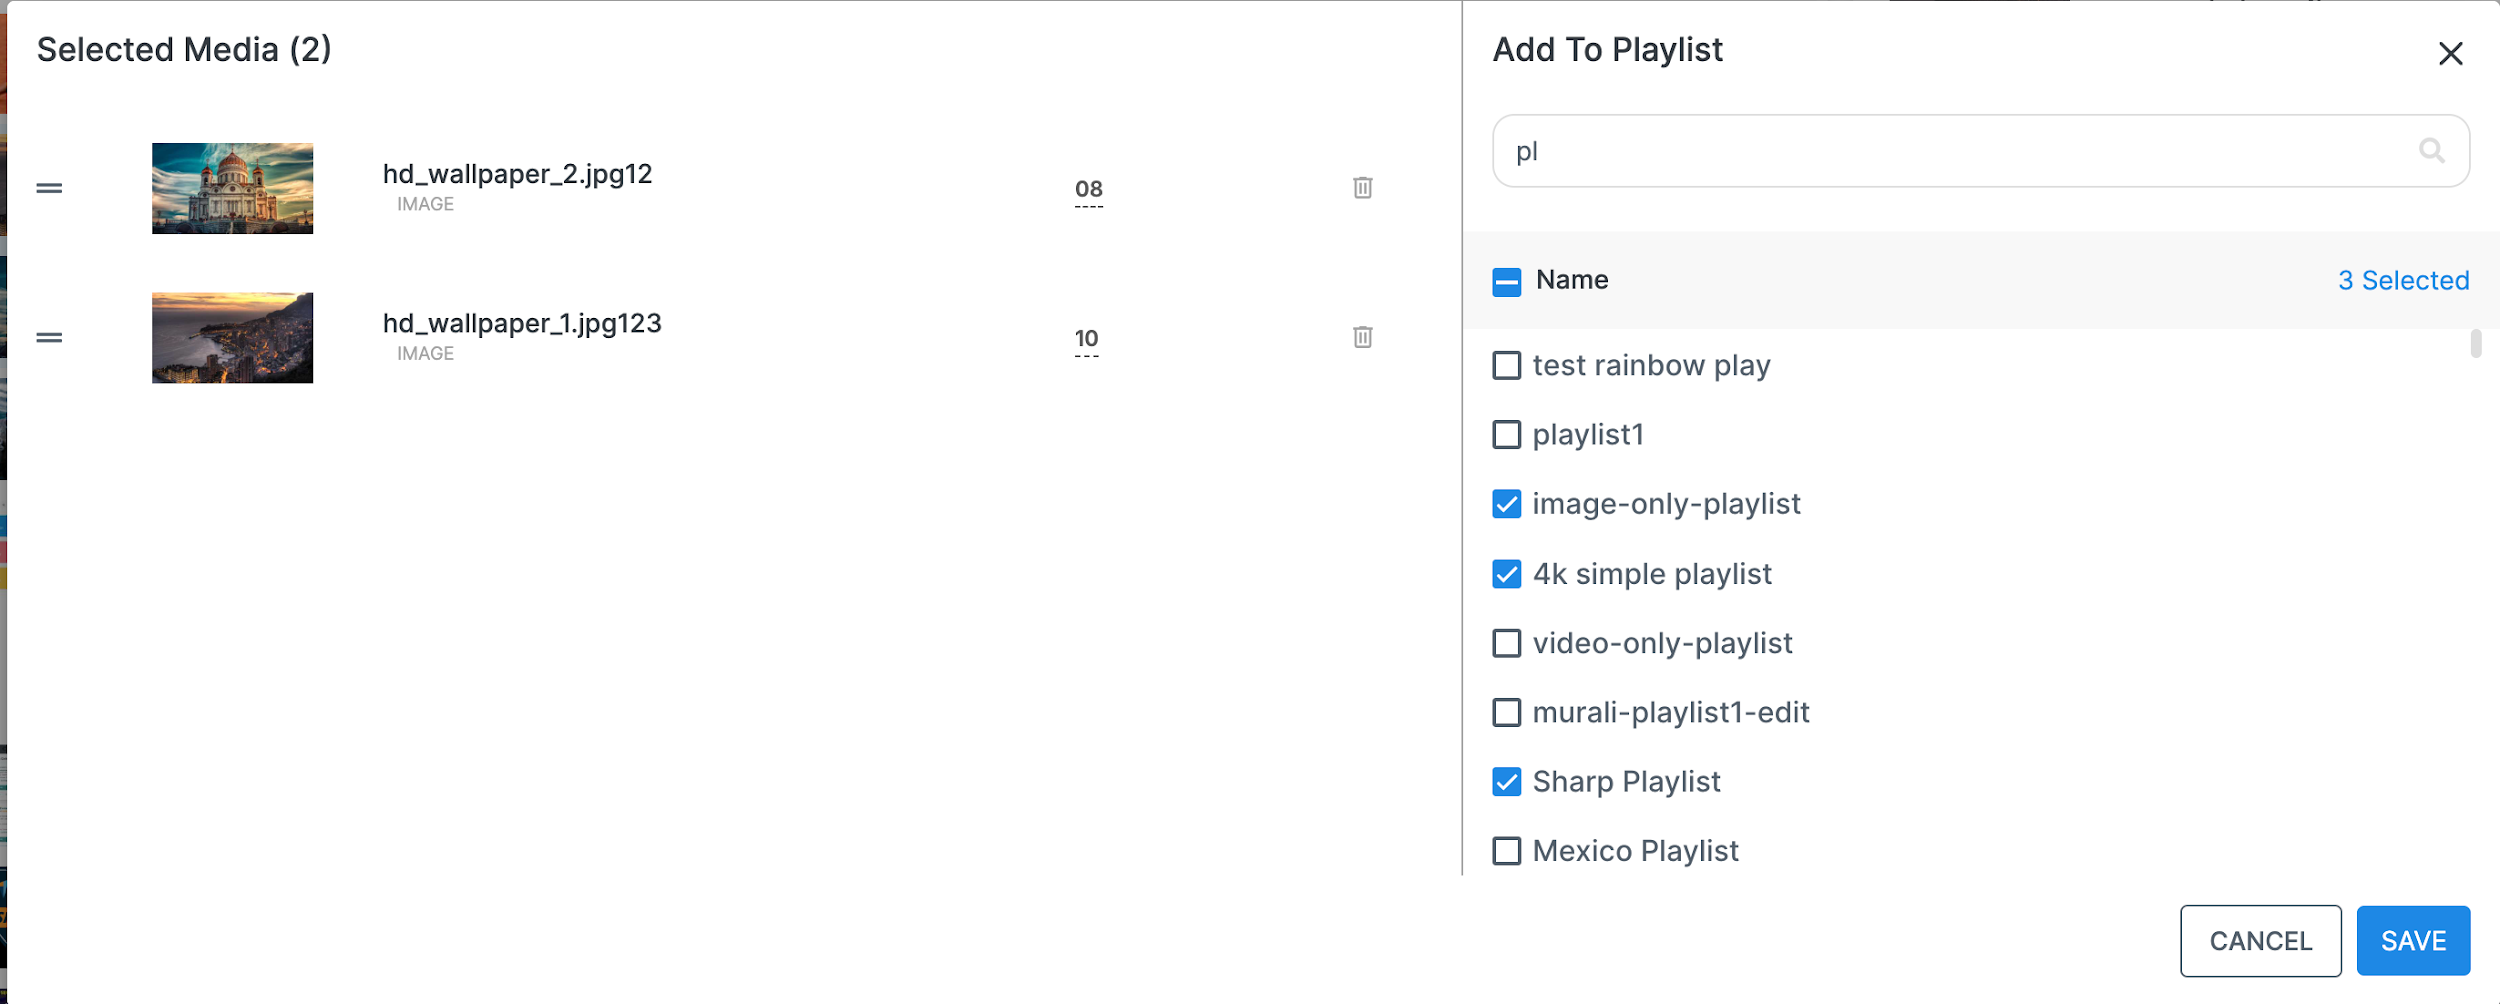
Adding Media to Playlists
Once uploaded, you can quickly add media to one or more playlists:
Displays
Monitor and control all your screens from one central dashboard.
Understanding Status Indicators
Each display shows colored indicators so you can quickly see what's happening:
| Status | What It Means |
|---|---|
| Live | Display is online and connected to the internet |
| Offline | Display is not connected (turned off or no internet) |
| Sync | Display has the latest content and is playing correctly |
| Out of Sync | New content is waiting to download |
Changing Display Content
Remote Controls
Playlists
Organize your content into sequences that play on your displays.
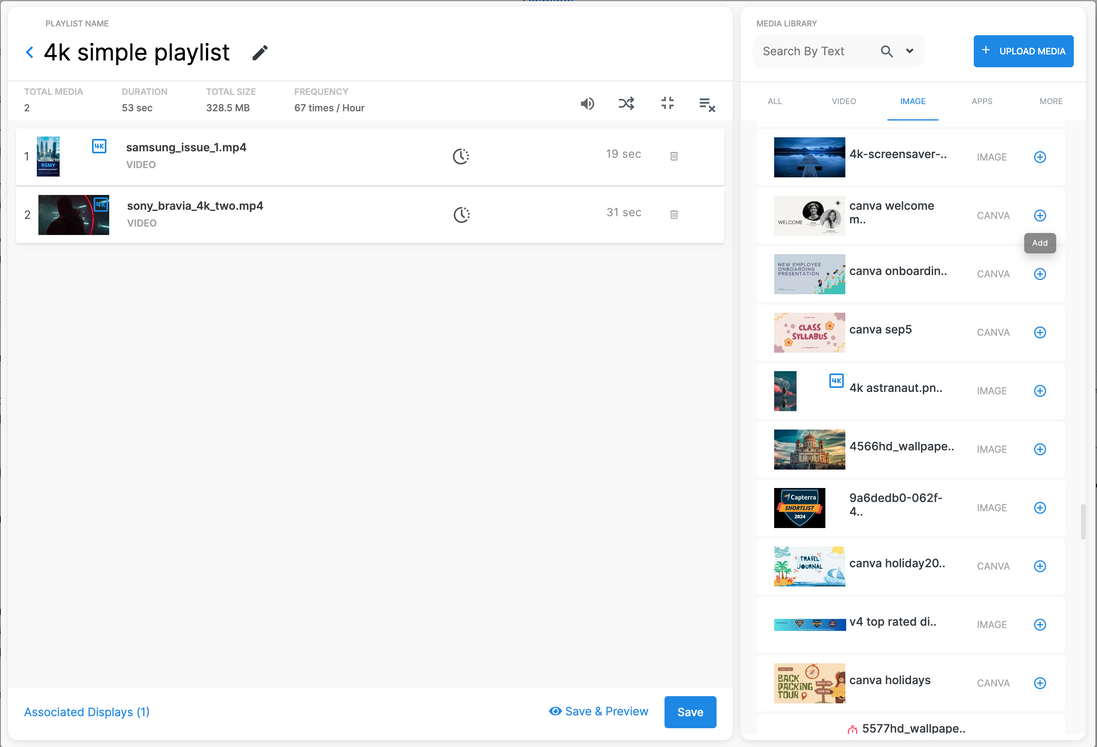
Creating a Playlist
Assigning to Displays
After saving, click "Associated Displays" at the bottom of the editor to select which screens should play this playlist.
Layouts
Divide your screen into multiple zones to show different content simultaneously.
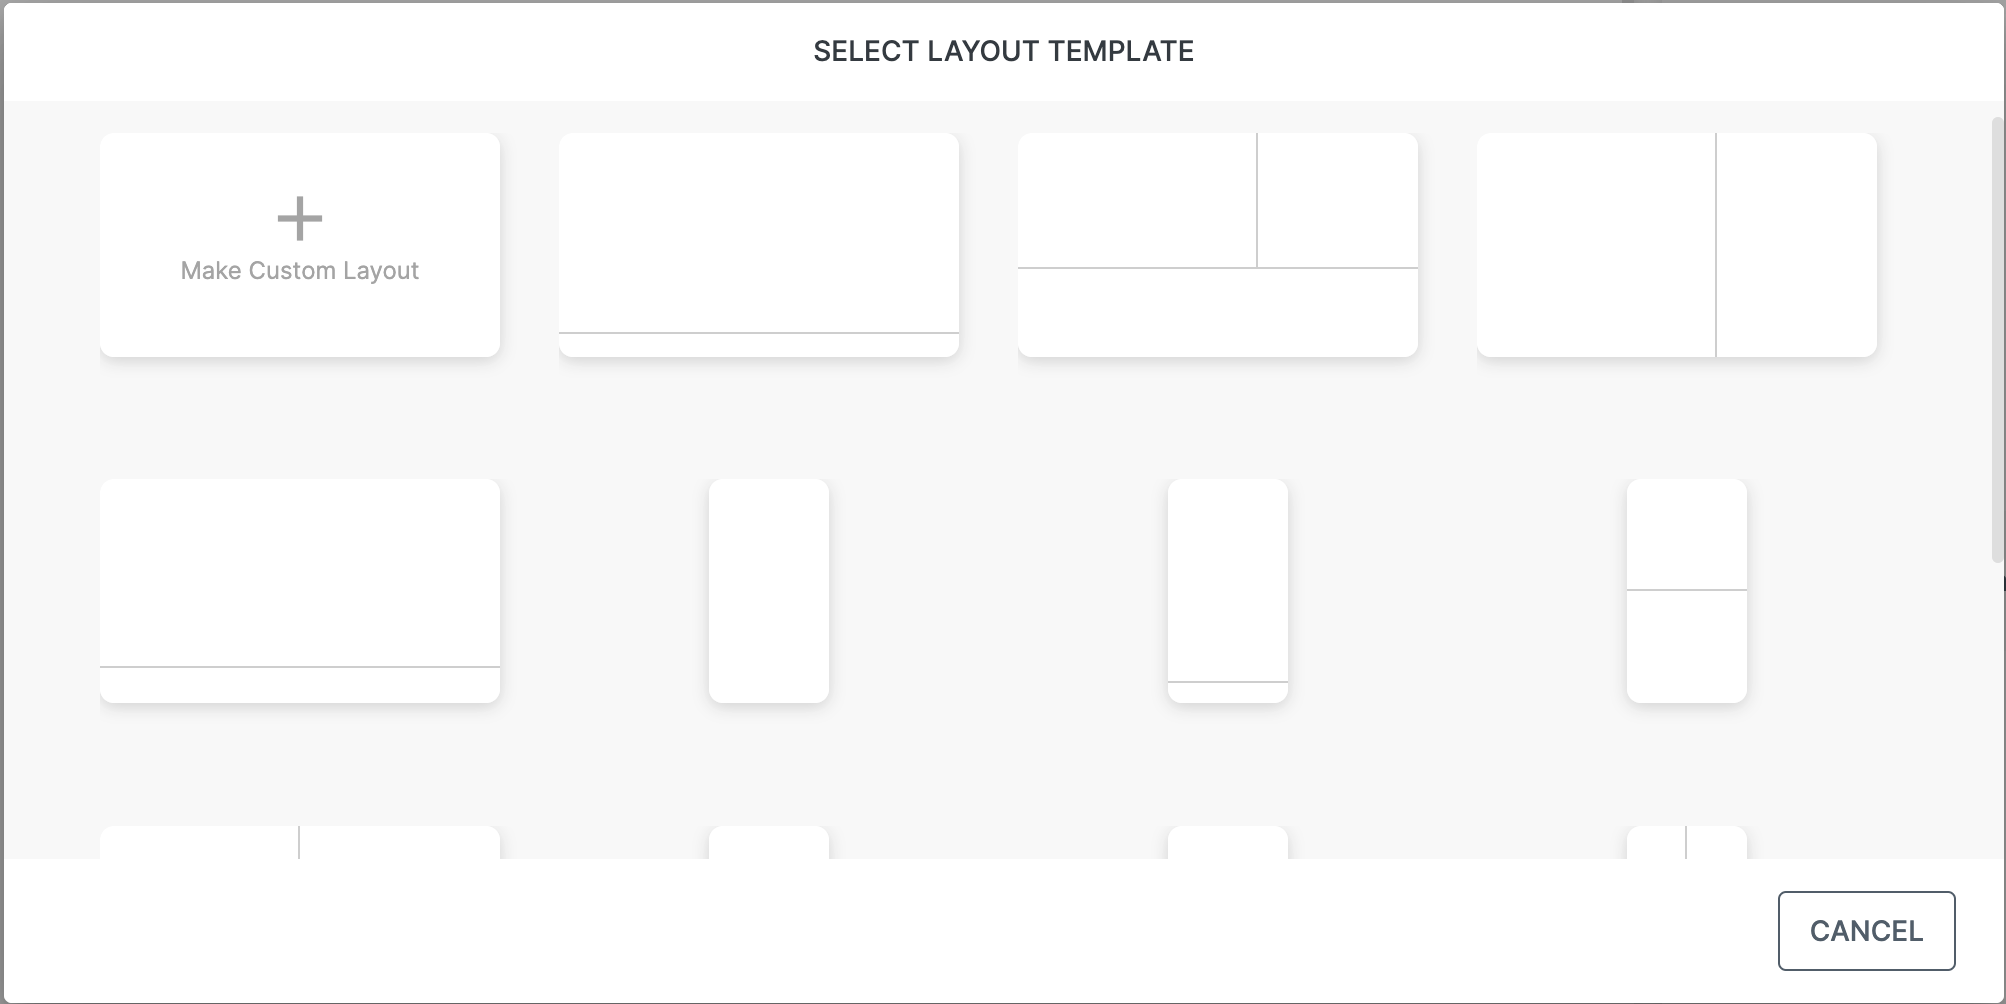
When to Use Layouts
Layouts are perfect when you want to show multiple things at once:
- Main content with a scrolling ticker at the bottom
- Video on one side, announcements on the other
- Large image with clock and weather widgets
Creating a Layout
Schedules
Play different playlists at different times of day.
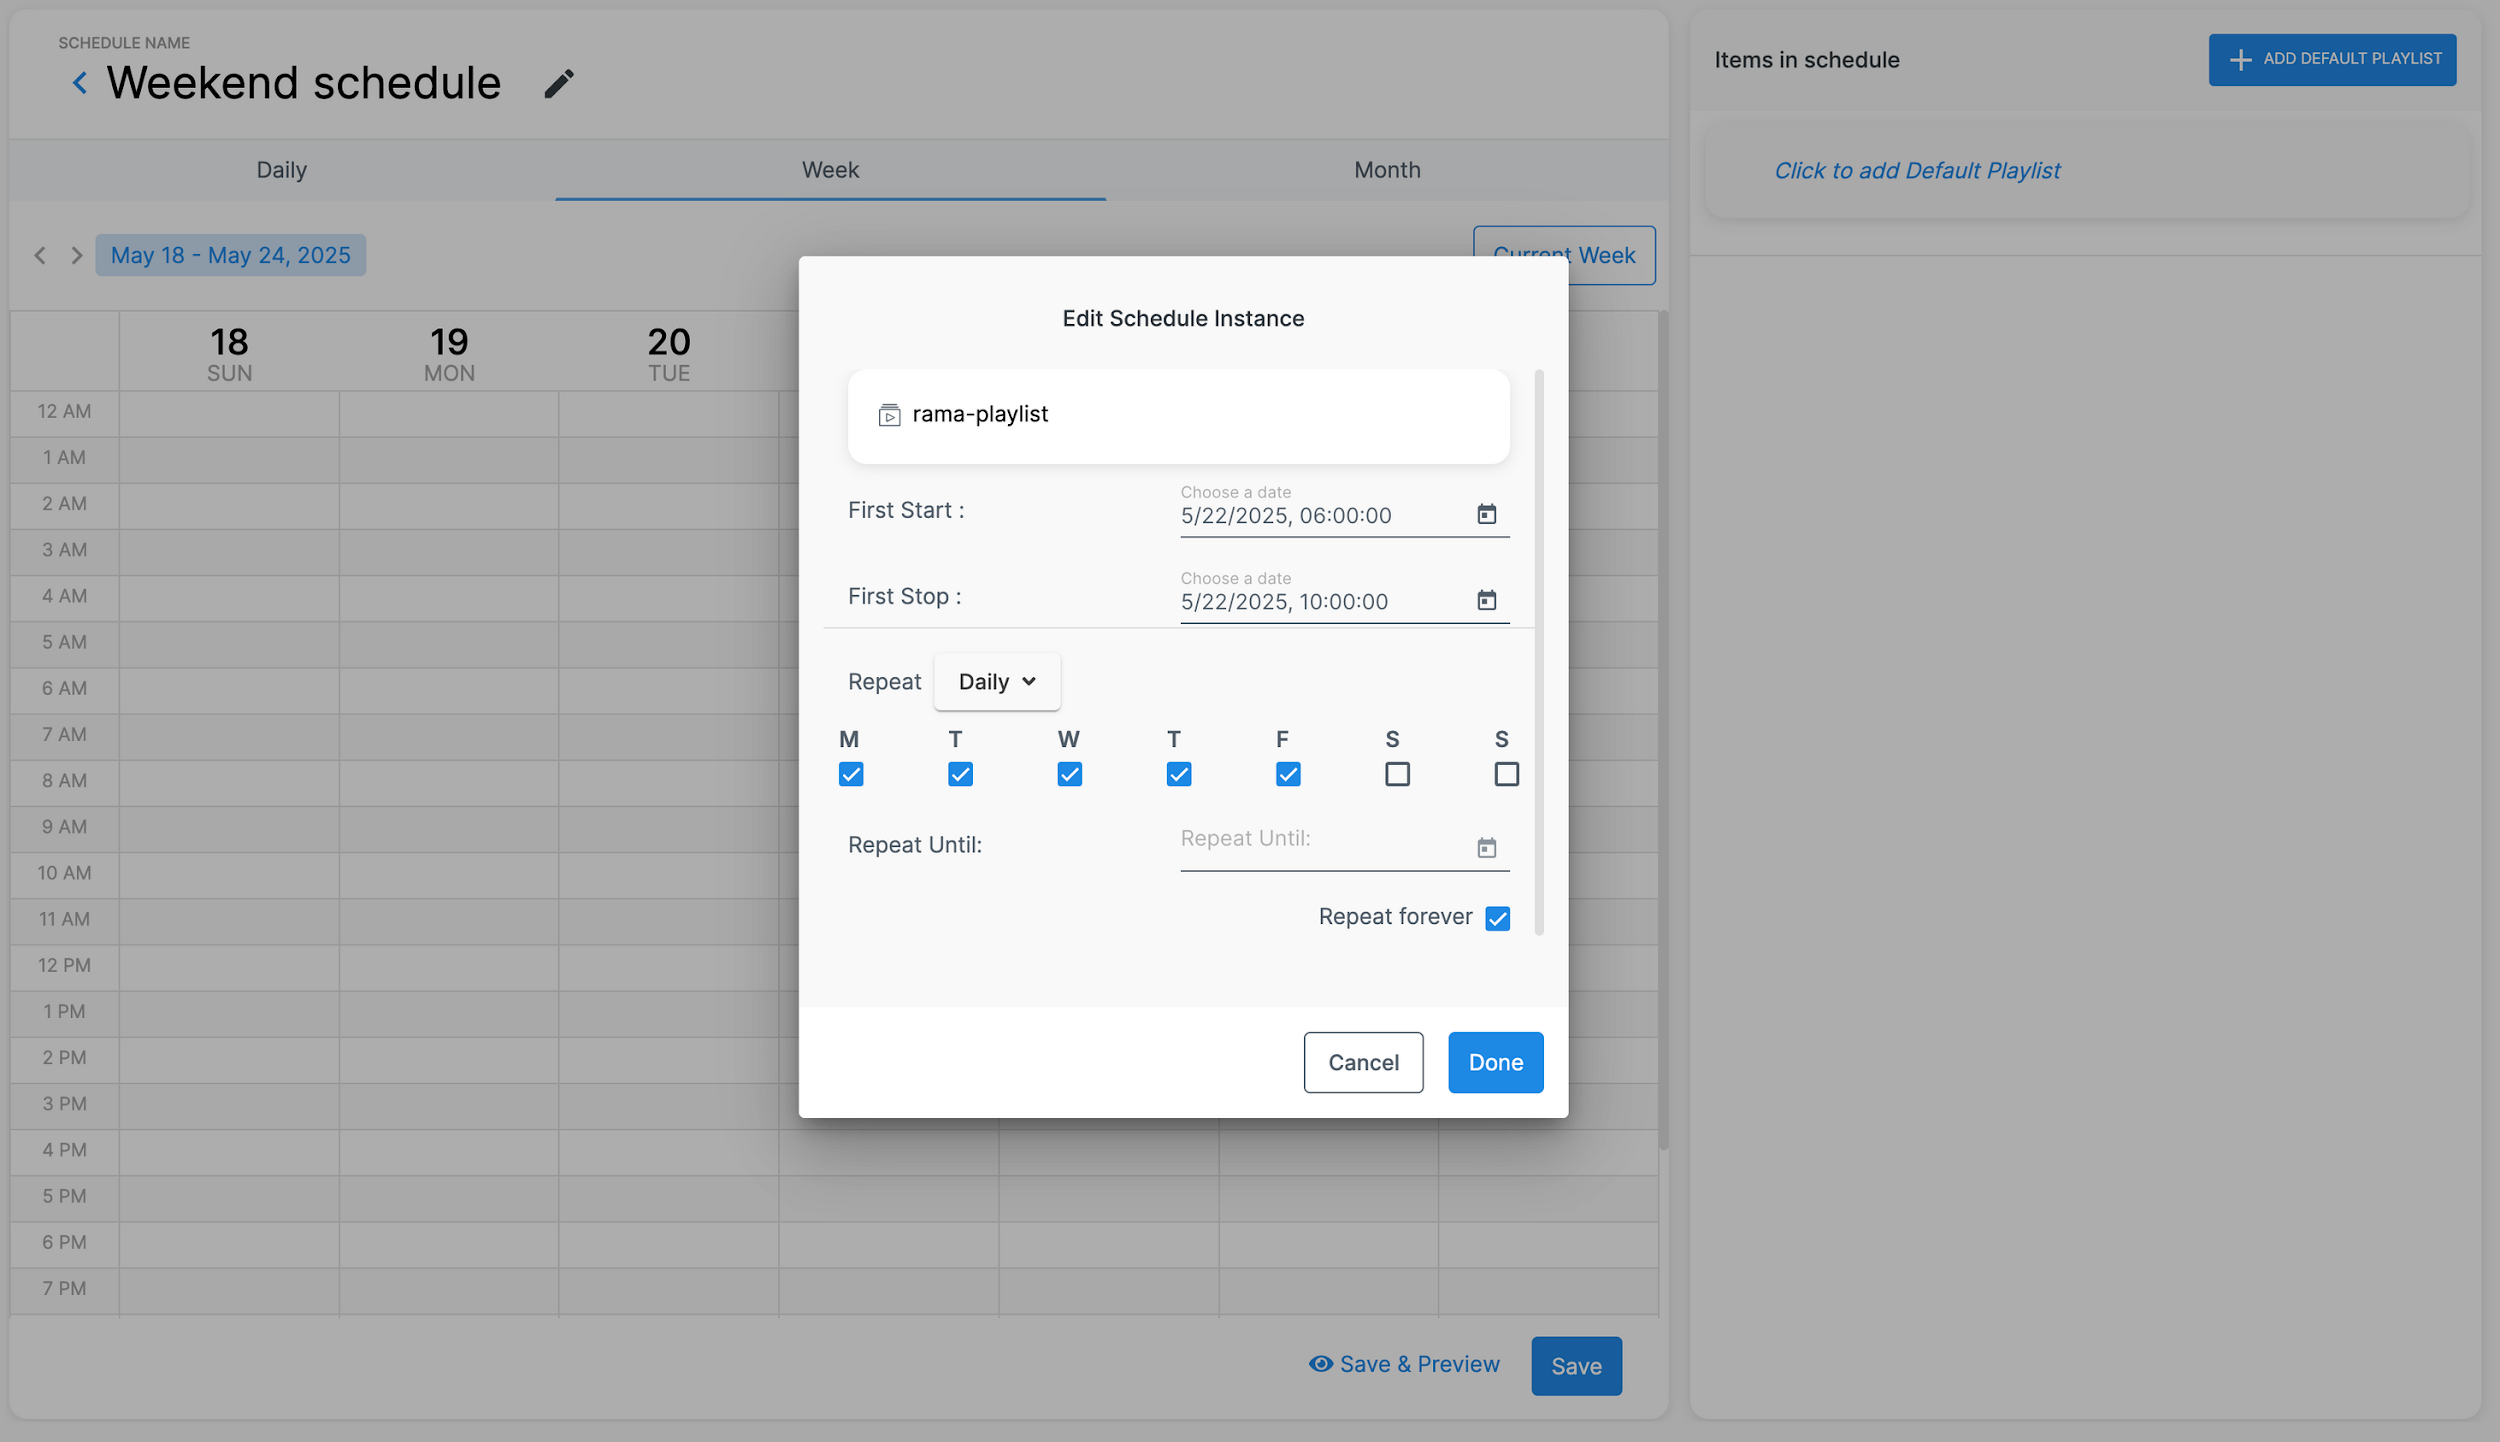
How Schedules Work
Think of a schedule like a calendar for your display. Create time blocks, assign playlists, and the display automatically switches content based on the current time.
Creating a Schedule
Dynamic Apps
Add live, real-time content to your displays like clocks, weather, and news feeds.
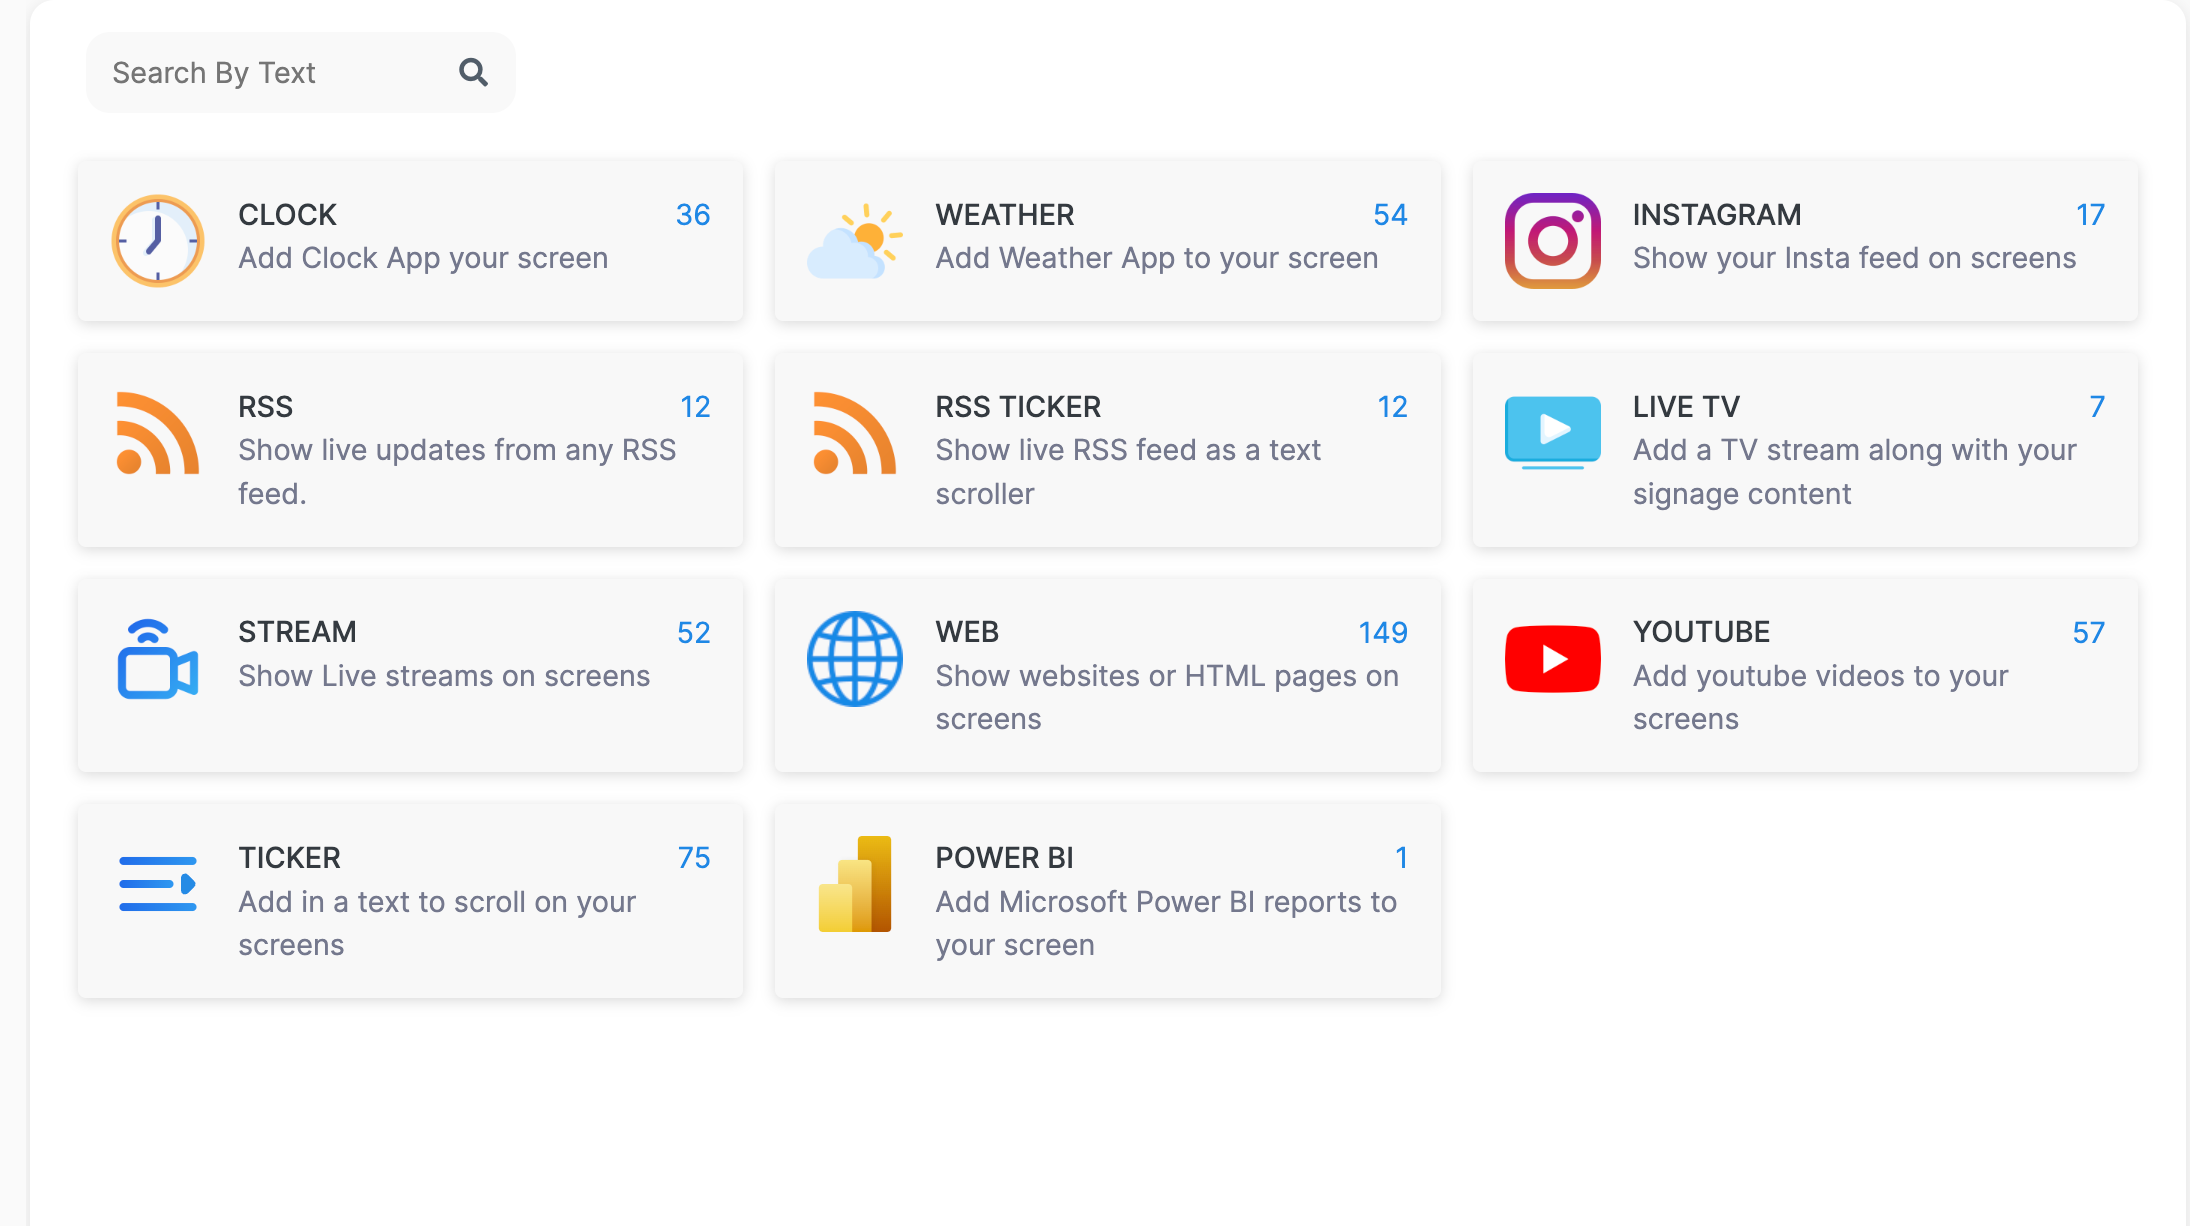
Available Apps
| App | Description |
|---|---|
| Clock | Multiple styles: analog, digital, minimal. Supports multiple timezones. |
| Weather | Current conditions and forecast for any location. |
| Ticker | Scrolling text that moves across the screen. |
| RSS Feed | Pull content from any RSS feed—news, blogs, internal feeds. |
| Web URL | Display any website or web app directly. |
| Live TV | Broadcast TV (certain hardware only). |
| Stream | HLS, RTP, or DASH video streams. |
| Power BI | Microsoft Power BI dashboards (requires Power BI Pro). |
Adding an App
All apps work the same way: Go to Apps, find the one you want, click "Add Instance", configure settings, and save. The app then appears in your media library.
Canva Integration
Create professional designs without leaving the CMS.
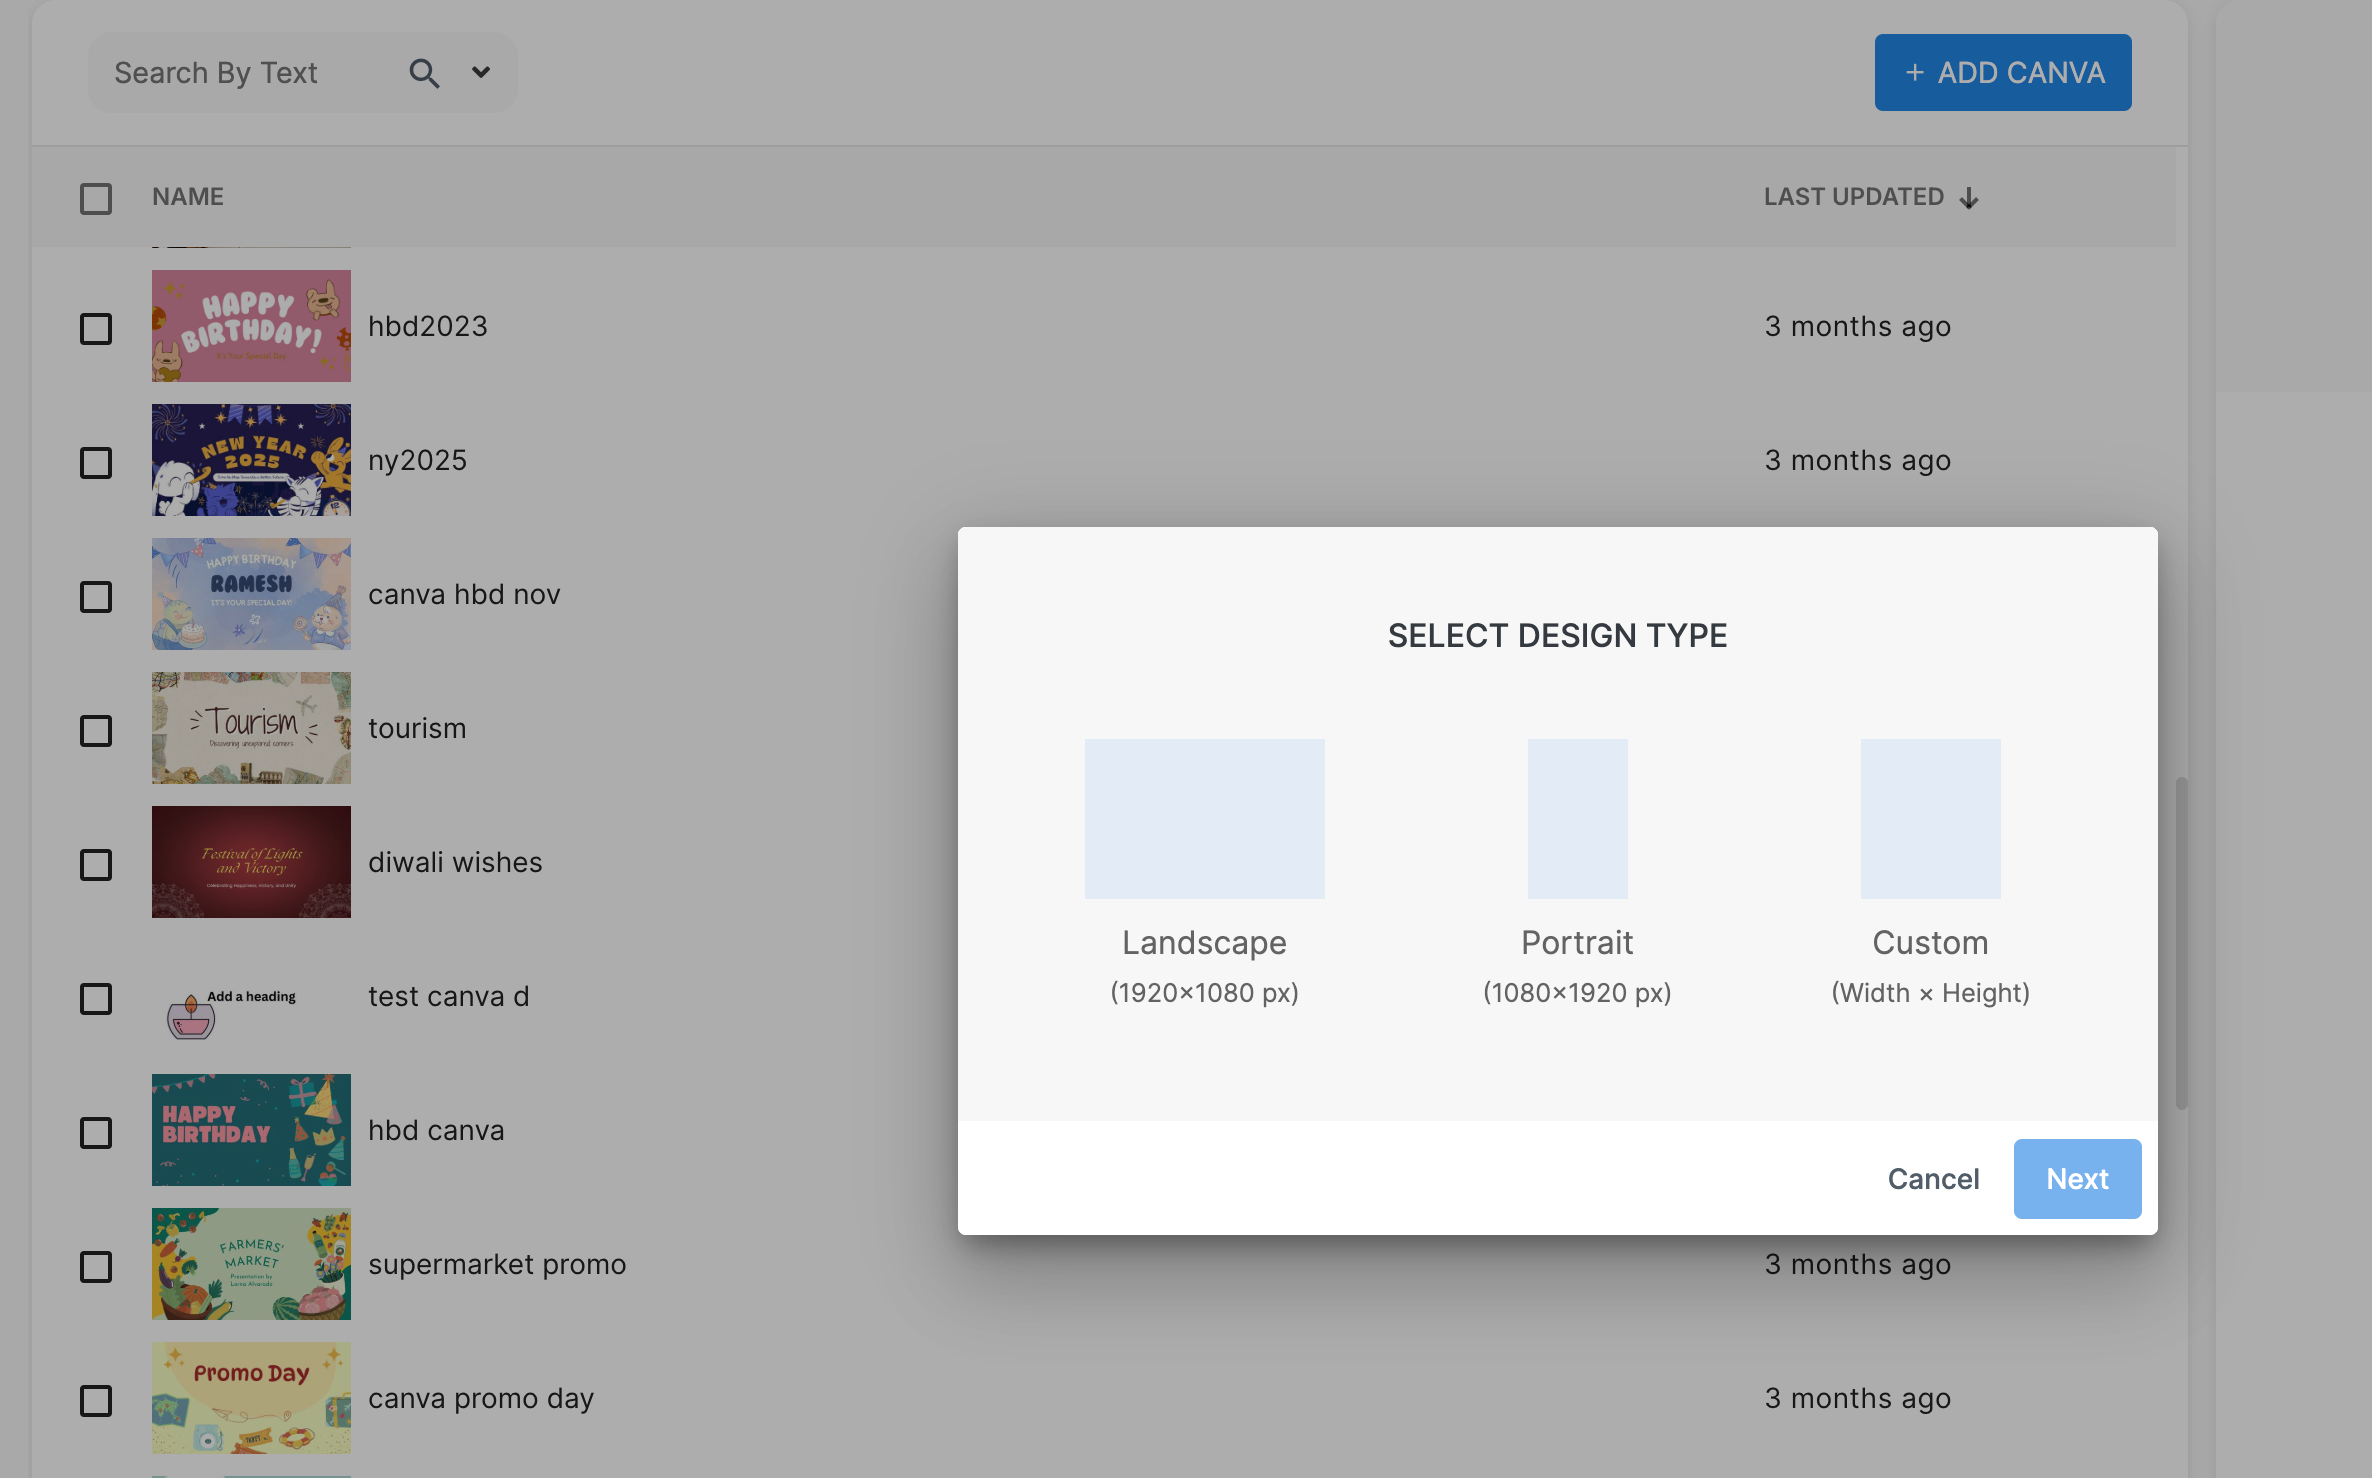
Using Canva
Proof of Play Reports
Generate detailed playback data for compliance, billing, or analytics.
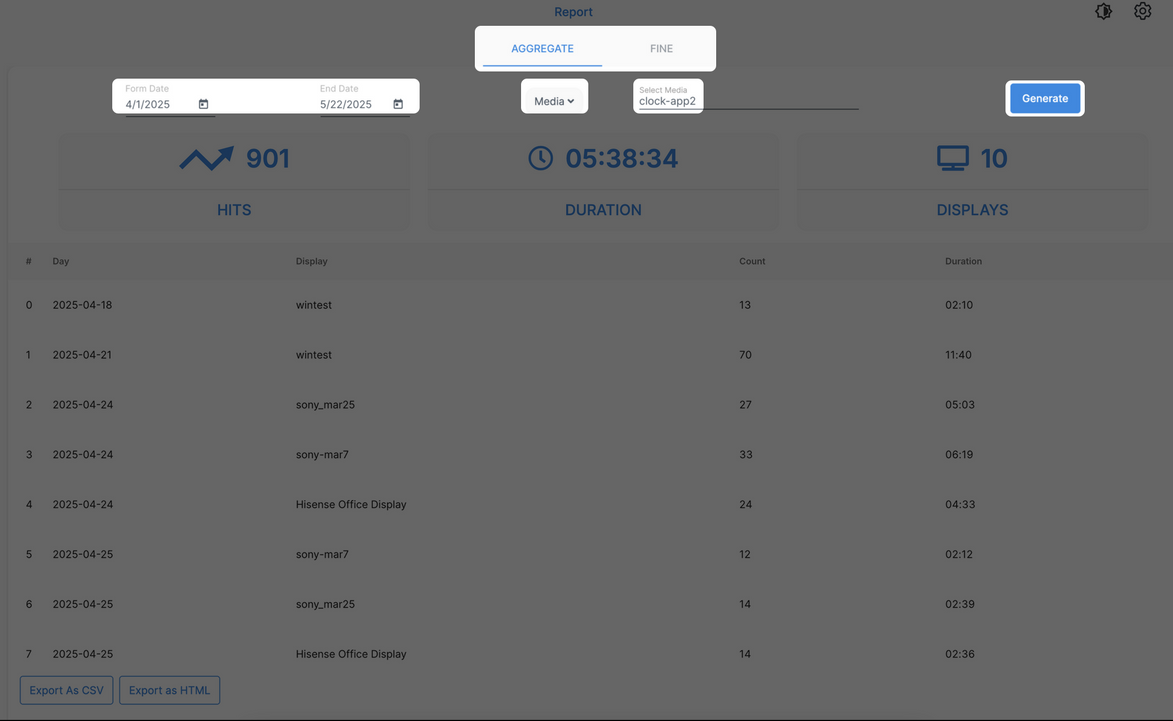
Generating a Report
Settings
Configure global preferences for your account.
Advanced Modes
- DOOH Mode — Advertising features like campaigns and frequency weighting.
- Advanced Mode — Extra features like InSync for synchronized playback.
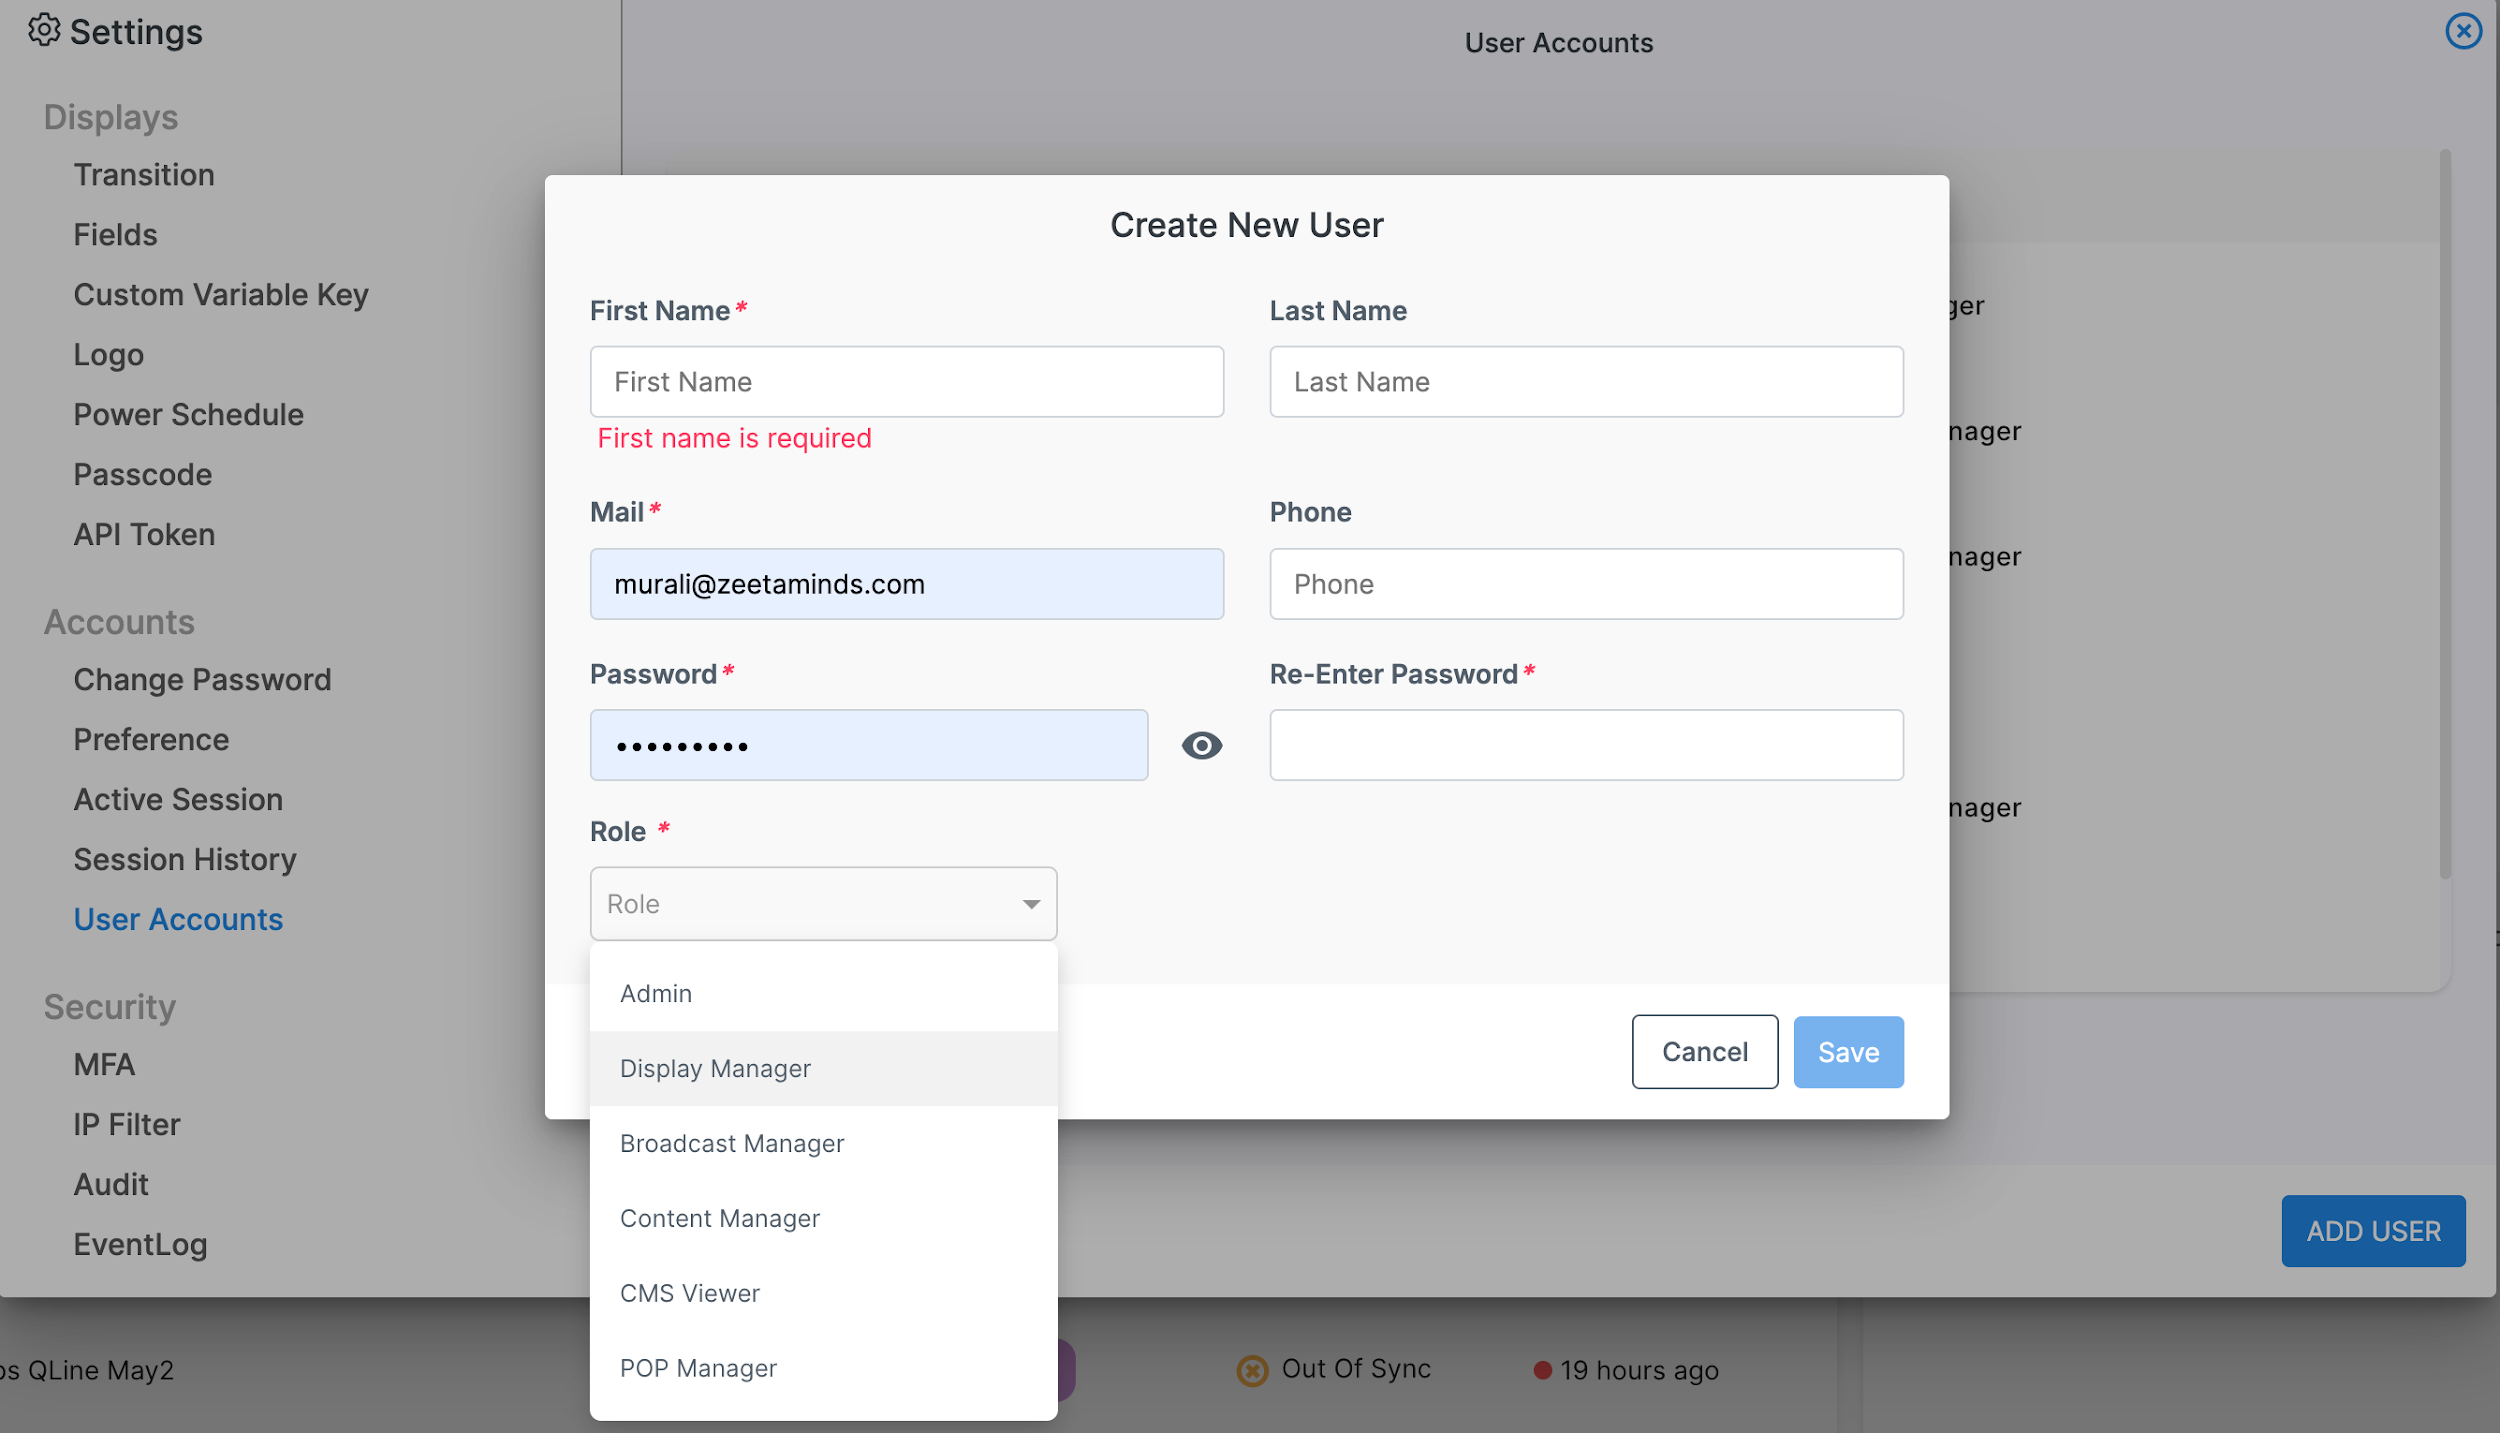
User Roles
Control what each team member can see and do.
Security
Keep your account secure with MFA and IP restrictions.
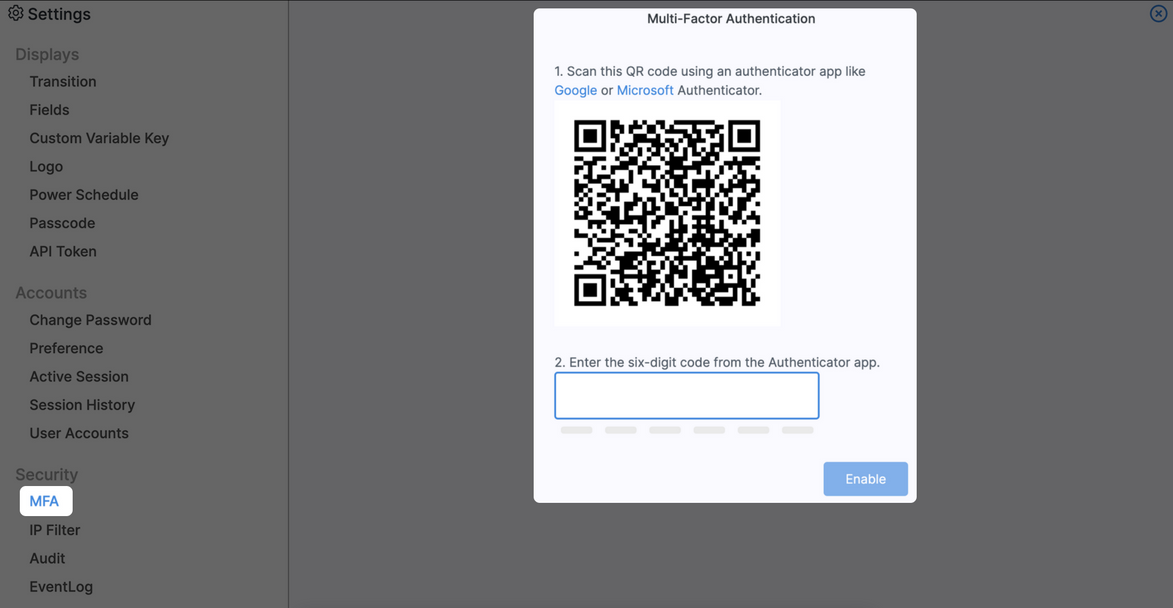
Multi-Factor Authentication
Add an extra layer of security by requiring a code from your phone.
IP Filtering
Restrict CMS access to specific IP addresses:
Audit Logs
Track all user activity in your CMS. Go to Settings → Audit, select a date range, and click Generate.
Need Help?
US-based support team available to help.