A POS integration connects your point-of-sale system to your digital signage, so the menu board shows the item names and prices you already keep in the POS. Change a price at the register and every board that shows that item follows. Toast, Square and Clover all publish the menu data a signage platform needs; what differs between signage vendors is which fields they read and who sets it up.
What a POS integration does for a menu board
- The board matches the register. The price on the board comes from the same record as the price the customer pays.
- One edit, every location. Change a price once in the POS and every board that shows the item updates.
- Sold-out items. Where the POS tracks stock, some platforms hide the item or mark it sold out.
- Head office keeps the design. The layout stays fixed; only the names and prices in it change, from each store's own POS.
It suits counter and drive-thru menu boards, bar and cafe price lists, and salon or retail price screens.
What data a POS integration can use
Which fields a signage platform reads depends on the platform. The data each POS publishes:
| POS | Where the menu lives | Stock or availability |
|---|---|---|
| Toast | Menus, groups, items and modifiers in Toast's menu data | Toast marks items out of stock (86'd) |
| Square | The Catalog API: items, variations (such as sizes), prices, categories and modifiers | The separate Inventory API holds stock counts and sold-out items |
| Clover | The Inventory API: items, categories, modifiers and prices | Item stock is part of the same API |
Things to know before you rely on it:
- Names in the POS are often short. "LG LATTE OAT" works on a receipt, not on a board. Many platforms let you keep a display name on the sign while the price still comes from the POS.
- Modifiers and sizes. A drink with three sizes is one item with three prices. Check how the platform lays out variations before you design the board.
- Per-location prices. Airport or city-centre stores often charge more. The board for each store must read that store's POS location, not the head office menu.
- Calorie counts. Most POS systems do not store them in a form a board can show. Chains of 20 or more US locations must show calories on menu boards (21 CFR 101.11), so plan where that number comes from. See calorie labeling on digital menu boards.
Which digital signage platforms integrate with Toast, Square or Clover?
Toast lists its partners in its integration marketplace at pos.toasttab.com; Square and Clover run app marketplaces of their own. Two signage examples from the vendors' own pages (read September 2026):
- NoviSign says its Toast integration syncs menu items, descriptions, prices and "Sold Out" status across locations.
- Wallboard says its Toast integration syncs menu items, categories, pricing and modifiers, plus item availability.
Before you buy, ask each vendor these questions:
- Is the integration live today for my POS, or on a roadmap?
- Which plan includes it, and does it cost extra per location?
- Do I set it up myself, or does your team do it?
- Which fields does it read: names, prices, sizes, modifiers, stock?
- How long after a change in the POS does the board update?
- What does the board show if the POS cannot be reached? It should keep the last known menu, never go blank.
If you do not want a POS integration
- A spreadsheet. Keep the menu in a Google Sheet and let the board read it. Edit a price in the sheet and every board changes. This works with any POS, or none. See show live data on screen.
- Edit the board directly. For one store with a menu that changes a few times a year, editing the design in the signage software is quicker than connecting anything.
- Your own data feed. If your team already publishes menu data as JSON (for example from an online ordering system), most signage platforms can read it the same way.
How Brix connects to your POS
Brix connects to Toast, Square and Clover. Our team sets up the connection with you. Talk to us. The connected data drives live item names and prices on a menu board or any other design. In the CMS, the POS sources sit on the Data sources tab of Templates, under Point of sale.
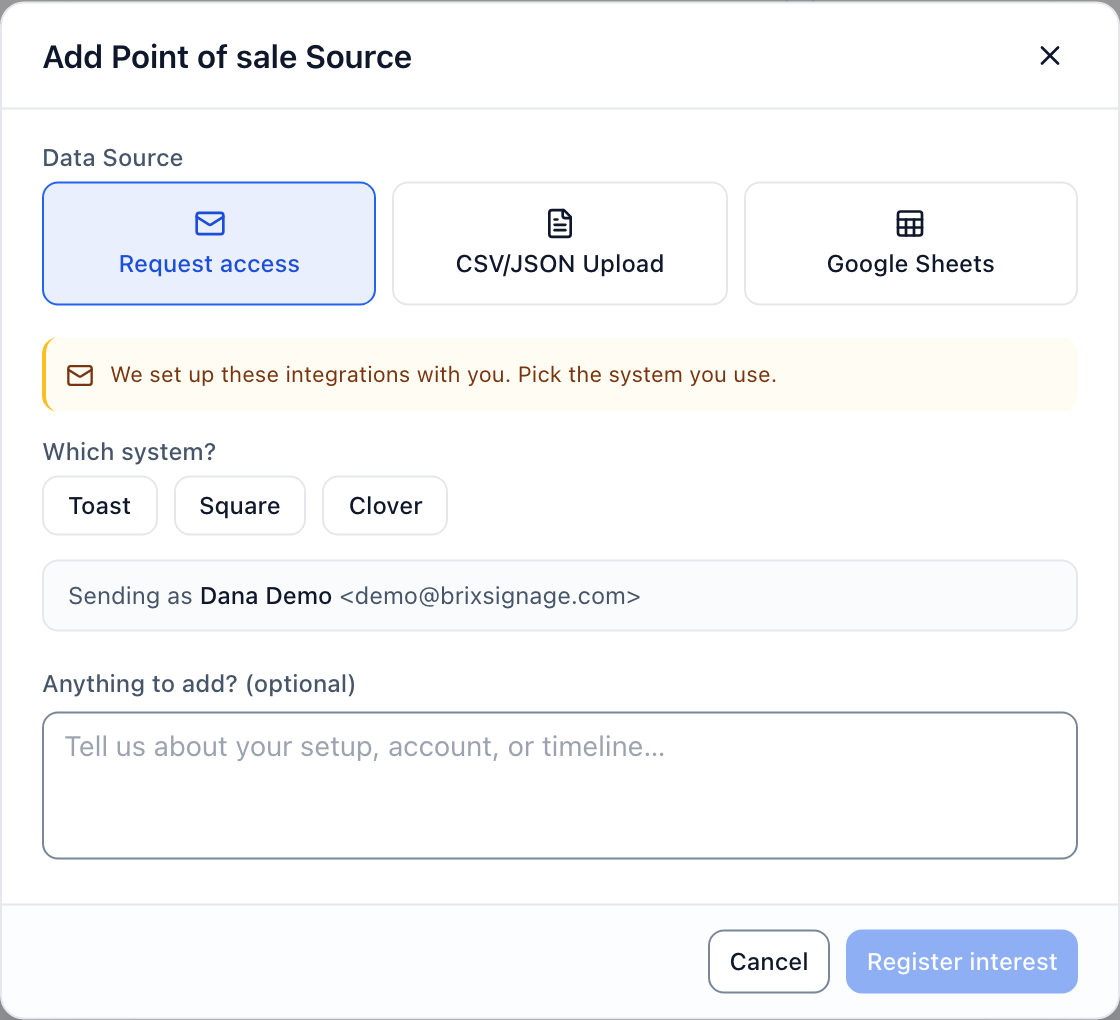
The rest of the board works as usual: menu templates, day-parting (breakfast and lunch menus by time), and content that keeps playing when the network drops.
What to have ready for the call:
- Which POS you use (Toast, Square or Clover) and how many locations run on it.
- Someone with admin access to the POS account, because connecting needs permission granted there.
- Which screens should show POS data, and which items or menu sections belong on each.
- Your current menu board, or a photo of it, so the design can be matched.
Brix is not the right choice if you need a self-serve POS connector you switch on alone tonight, or a POS other than Toast, Square or Clover. In that case, use a spreadsheet-driven board, or pick a vendor whose marketplace listing shows your POS.
Brix costs $6 per screen per month billed annually, or $8 billed monthly. Book a call to set up your Toast, Square or Clover connection.