To display a menu on a TV:
- Plug a media player, such as the Amazon Signage Stick, a Fire TV or an Android box, into the TV's HDMI port. Power it from a wall outlet, not the TV's USB port, which can drop voltage and reboot the player.
- Install or choose a digital signage app on the player and note the pairing code it shows on the TV.
- Create an account in the menu board software, then type that code to pair the screen.
- Build the menu from a template, or from a spreadsheet of items and prices the software reads, so a price change is one edit.
- Schedule the day-parts: breakfast, lunch, dinner, late night.
- Set the screen's on and off times to match your opening hours.
This turns any number of TVs into a TV menu board that changes from a phone and switches itself by time of day. It costs from about $6 per screen per month. For one TV whose menu rarely changes, skip the player and software: save the menu as an image and play it free from a USB stick (steps below). Every price change then needs a walk to the TV.
The 4 ways to put a menu on a TV
| Method | Cost | Changing a price | Breakfast to lunch by itself | After a power cut | Good for |
|---|---|---|---|---|---|
| USB stick in the TV | Free | Edit the image, copy it to the stick, walk to the TV | No | Often back to the TV's home screen | One TV that rarely changes |
| Laptop or phone connected to the TV | Free, but ties up the device | Edit the file on the device | No | Stops | A one-day event |
| An app on a smart TV | Depends on the app | From anywhere, if the app is signage software | Depends on the app | Depends on the TV | TVs your software supports |
| Media player + TV menu board software | Player $40 to $100 once, software from about $6 per screen per month | From a phone, every screen at once | Yes | Starts straight back into the menu | Any restaurant that changes its menu |
How to display a menu on a TV with a USB stick
- Design the menu at the TV's resolution: 1920 x 1080 pixels for a Full HD TV, 3840 x 2160 for 4K. Turn the design sideways (1080 x 1920) if the TV is mounted portrait.
- Export each page as a JPG or PNG. Name the files 01, 02, 03 so they play in order.
- Copy them to a USB stick formatted as FAT32 or exFAT, the formats most TVs read.
- Plug the stick into the TV's USB port, press Source or Input, choose USB, open the first photo and start the slideshow. Set the interval (10 to 15 seconds for a menu with several pages).
- Turn off the TV's energy-saving sleep timer, so it does not switch itself off after a few hours.
The catch: every price change is a walk to the TV with a new stick. Nothing changes by time of day. After a power cut, many TVs come back on the TV channel or home screen until someone restarts the slideshow.
Which TV is best for a TV menu board?
- Size. 43 to 55 inches behind a counter. Size it so the smallest price is readable from where customers stand: a common rule for signs is 1 inch of letter height for every 10 feet of distance.
- A plain TV or a commercial display, not the smart features. The player does the work, so pay for the panel. Commercial displays cost more but are rated to run all day, and many start on the last input after a power cut.
- Brightness. Any TV is bright enough indoors. A menu in a sunny window needs a high-brightness commercial display (commonly 2,500 nits or more).
- Landscape or portrait. Two or three landscape TVs side by side is the classic counter board. A portrait TV suits one category per screen or a narrow wall.
- Matching TVs. For a board of several screens, buy the same model at the same time so colour and brightness match.
Which media player should you use for a TV menu board?
- Amazon Signage Stick, $99.99. Built by Amazon for signage, with 4K output, and you pick your signage software during its setup. See the Signage Stick setup guide.
- A consumer streaming stick such as the Fire TV Stick 4K Plus ($69.99) or an Android box such as the Walmart onn. 4K ($39.98). Cheaper, but built for home viewing rather than a screen that plays all day.
- BrightSign players, from $380 each on BrightSign's own store, or a Windows mini PC. For large chains and video walls with their own IT teams.
Prices are the makers' list prices, September 2026. See the Amazon Signage Stick review for more.
Wi-Fi or Ethernet for a TV menu board?
Use Ethernet where you can. A restaurant's Wi-Fi carries the POS, staff phones and every guest, so it is crowded at the busiest hour. Amazon's micro-USB Ethernet Adapter for the Signage Stick costs $14.99. Choose software that stores the menu on the player, so it keeps playing when the network drops. See how the Signage Stick plays offline.
How do you design a TV menu board that sells?
- Signature items where the eye goes first: at the top and the centre of each screen, never at the bottom of a long list.
- Fewer choices per screen. Split the menu across screens or pages rather than shrinking the type.
- A featured item in its own space. The menu on two-thirds of the screen, a combo or best-margin item on the rest.
- Anchor with a decoy. A medium priced close to the large makes the large look like the better deal.
- Consider dropping the dollar sign. In a Cornell study, diners spent more when prices had no dollar sign. Try it for a few weeks and compare checks.
- Real food photography and warm colours. Show the item as it is served.
- A little motion. Steam from a coffee cup or a slow pan across a burger draws the eye to that item; keep prices still.
- Readable at a distance. High contrast, two fonts at most, no thin script for prices.
If your restaurant is part of a chain of 20 or more locations in the US, the board must also show calories. See calorie labeling on digital menu boards.
Using Brix as your TV menu board software
Brix runs on the Amazon Signage Stick, Fire TV, Android boxes and Windows PCs. It costs $6 per screen per month billed annually, or $8 billed monthly. The free trial is 7 days, with no card.
- Plug the Signage Stick into the TV. During its on-screen setup, pick "Brix Signage". A pairing code appears.
- Create an account, then go to Screens > Add screen > Pair a hardware device and type the code.
- Add the Menu Board app. It builds the board from a Google Sheet, a CSV or JSON file, or an API, with the columns Category, Item, Price, Description, Image, Sold out and Calories. Long menus change page on their own, and sold-out items show with a line through or hide.
- Set breakfast, lunch and dinner in Schedules.
- A new screen follows Standard hours, 6:00 am to 11:00 pm, and the stick turns the TV off outside them. Change them in screen settings.
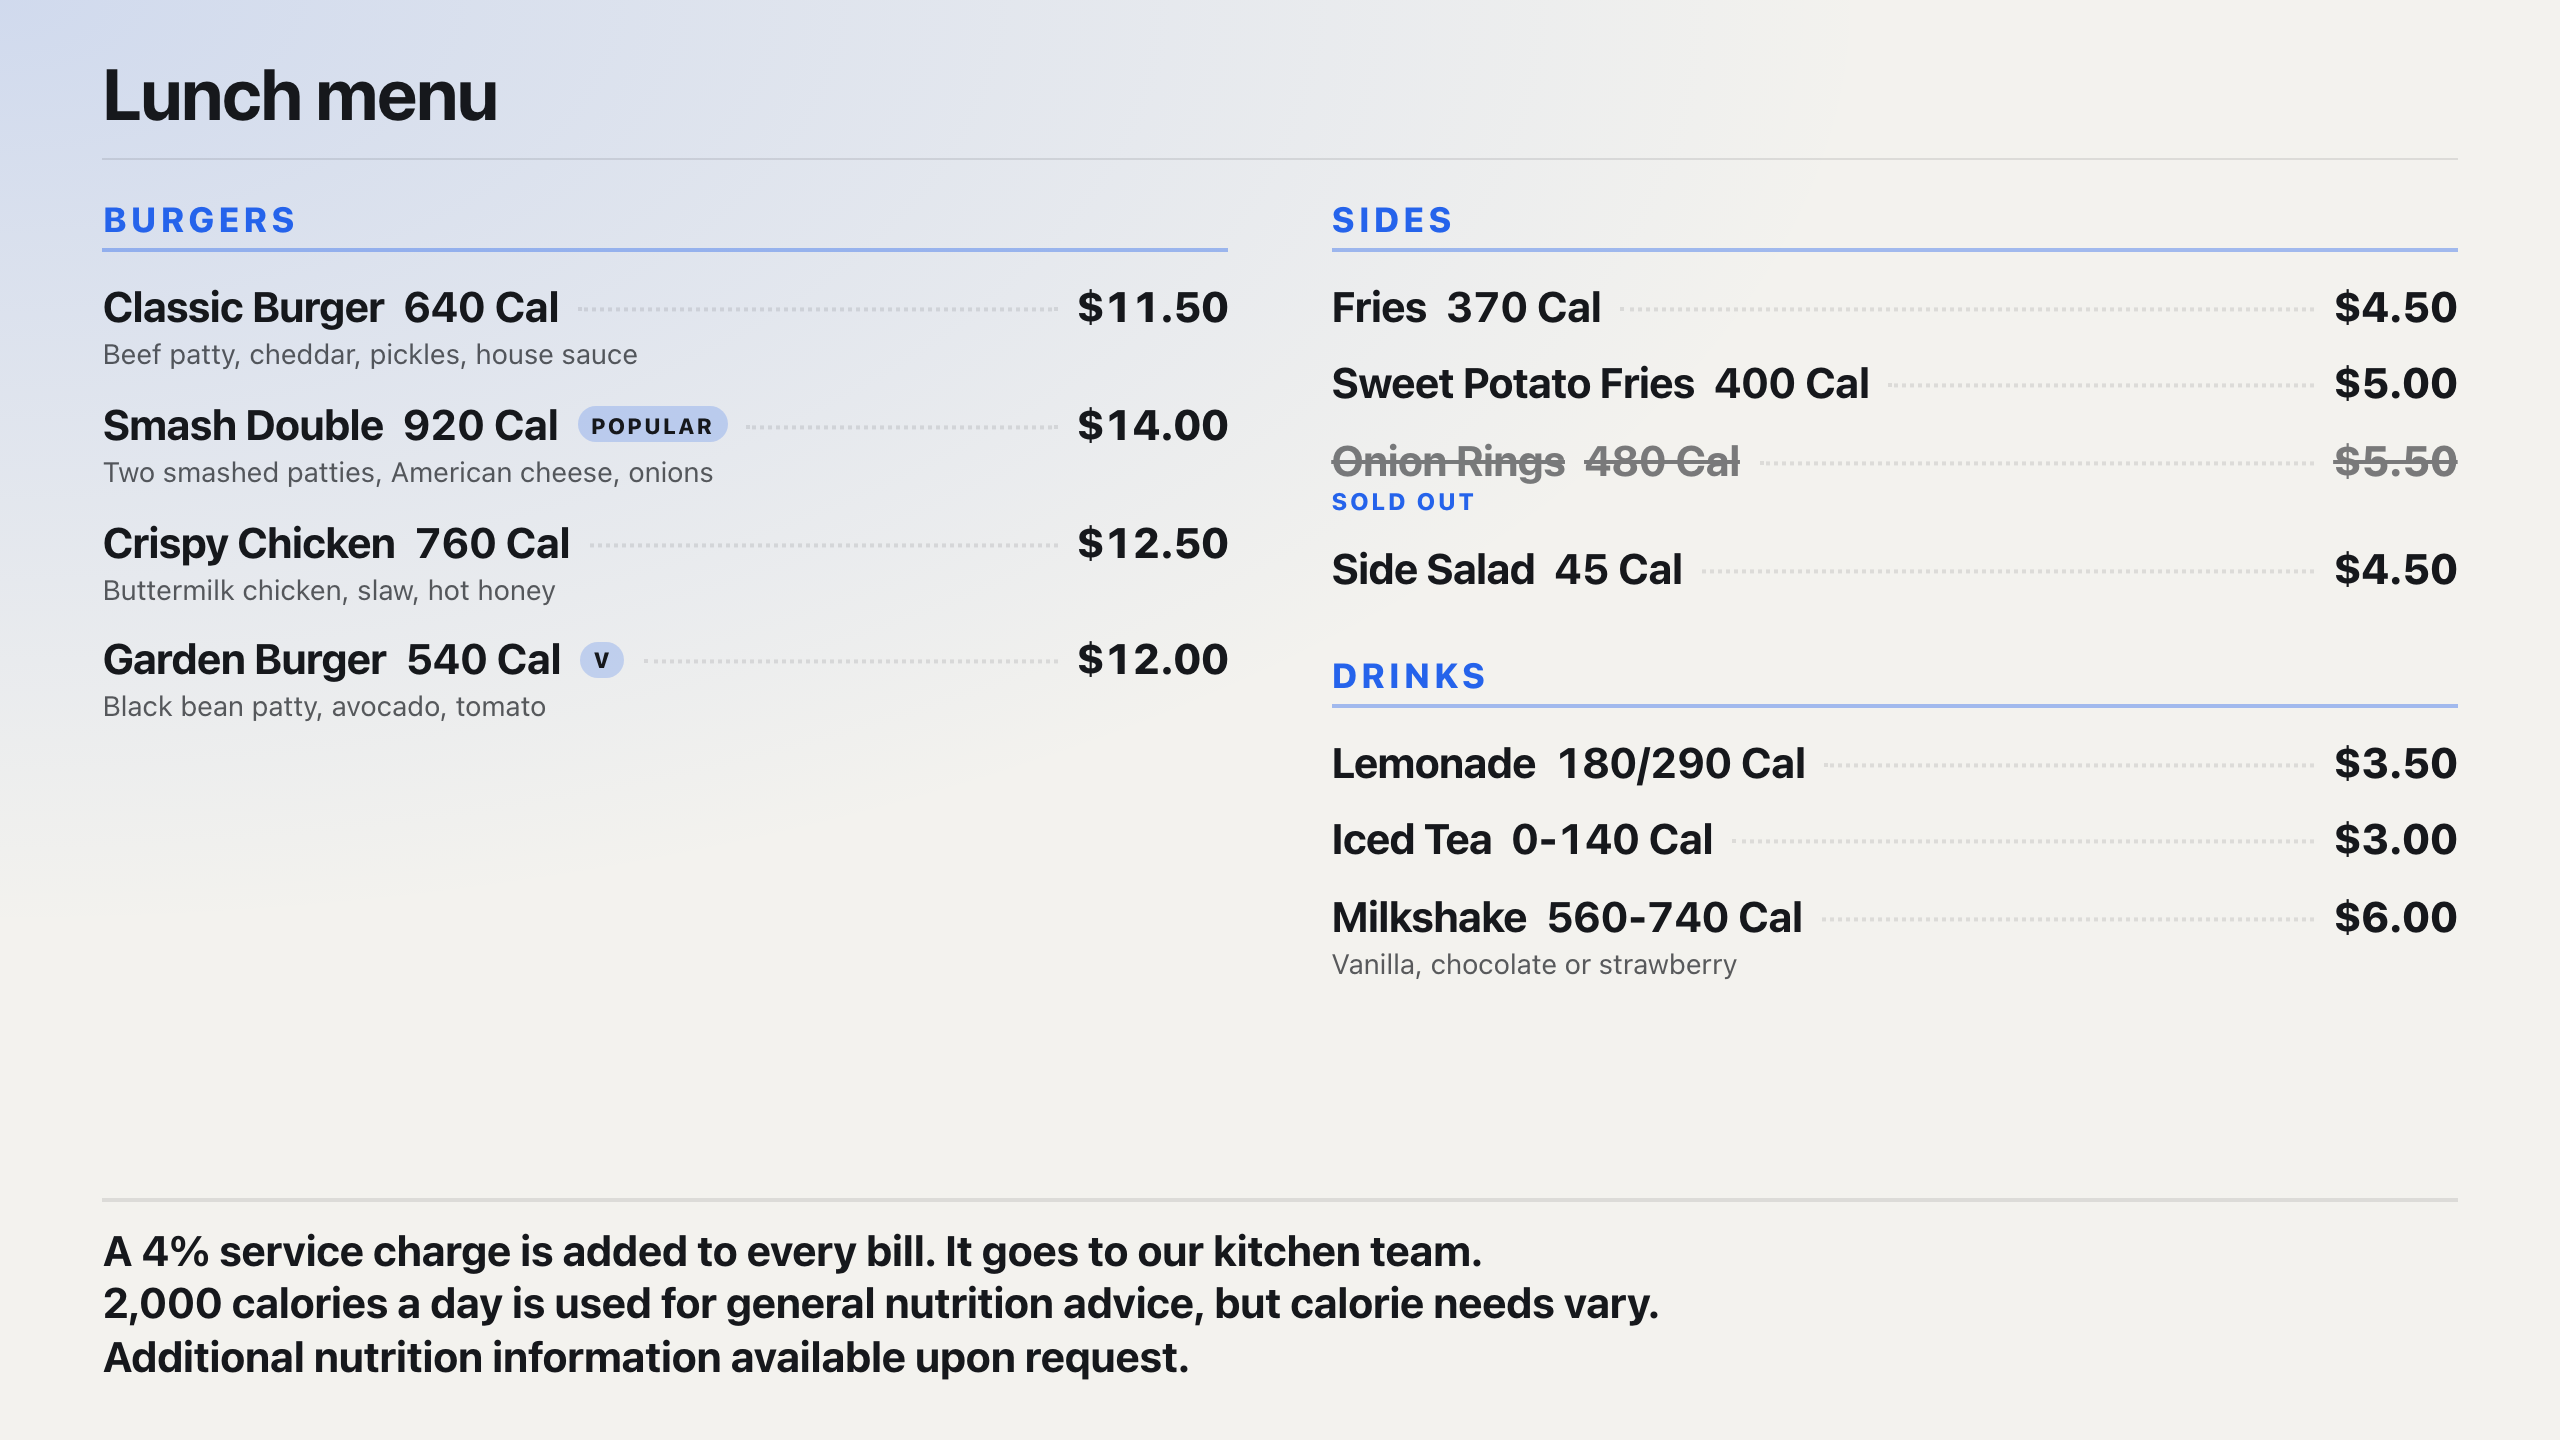
Setup takes about 10 minutes per screen. Brix connects to Toast, Square and Clover. Our team sets up the connection with you. Talk to us.
Brix has no app for Samsung or LG smart TVs, so on those TVs you plug in a stick. For a single TV whose menu changes once a year, the free USB method above is enough.
See also digital signage for restaurants and how much digital signage costs.