There are three ways to show a website on a TV. The TV's own browser works for a one-off, but it shows the address bar, goes to sleep, signs out and does not refresh. A laptop on HDMI works, but it ties up a computer and someone must restart it after every update. A signage player opens the page full screen, refreshes it on a timer, signs back in by itself and comes back after a power cut. For a dashboard that must stay up all day, use a signage player.
In Brix, open Web pages in the Content group of the sidebar, select Add web page, type the address and save. Then play the link on a screen or inside a playlist, between other content.
| Your page | How to show it in Brix |
|---|---|
| A public website, menu or timetable | Add web page, kind Website |
| A dashboard or report behind a sign-in | Kind Recorded login, or Single sign-on with a token |
| A page on your own network, such as 192.168.1.20 | Tick This page is on your own network |
| One part of a long page | Show only part of the page with a CSS selector |
| A different page on each screen | Put a screen detail in the address |
Add a public web page
- Select Add web page in the top right of the Web pages page.
- Type the address into the URL field. A bare domain such as example.com is enough: Brix completes it to https.
- Brix fills in the Name from the address. Type your own if you want one.
- Leave the Website kind selected under What kind of page is it?. You choose the kind once; the editor cannot change it later.
- Check the Preview pane, then select Add web page.
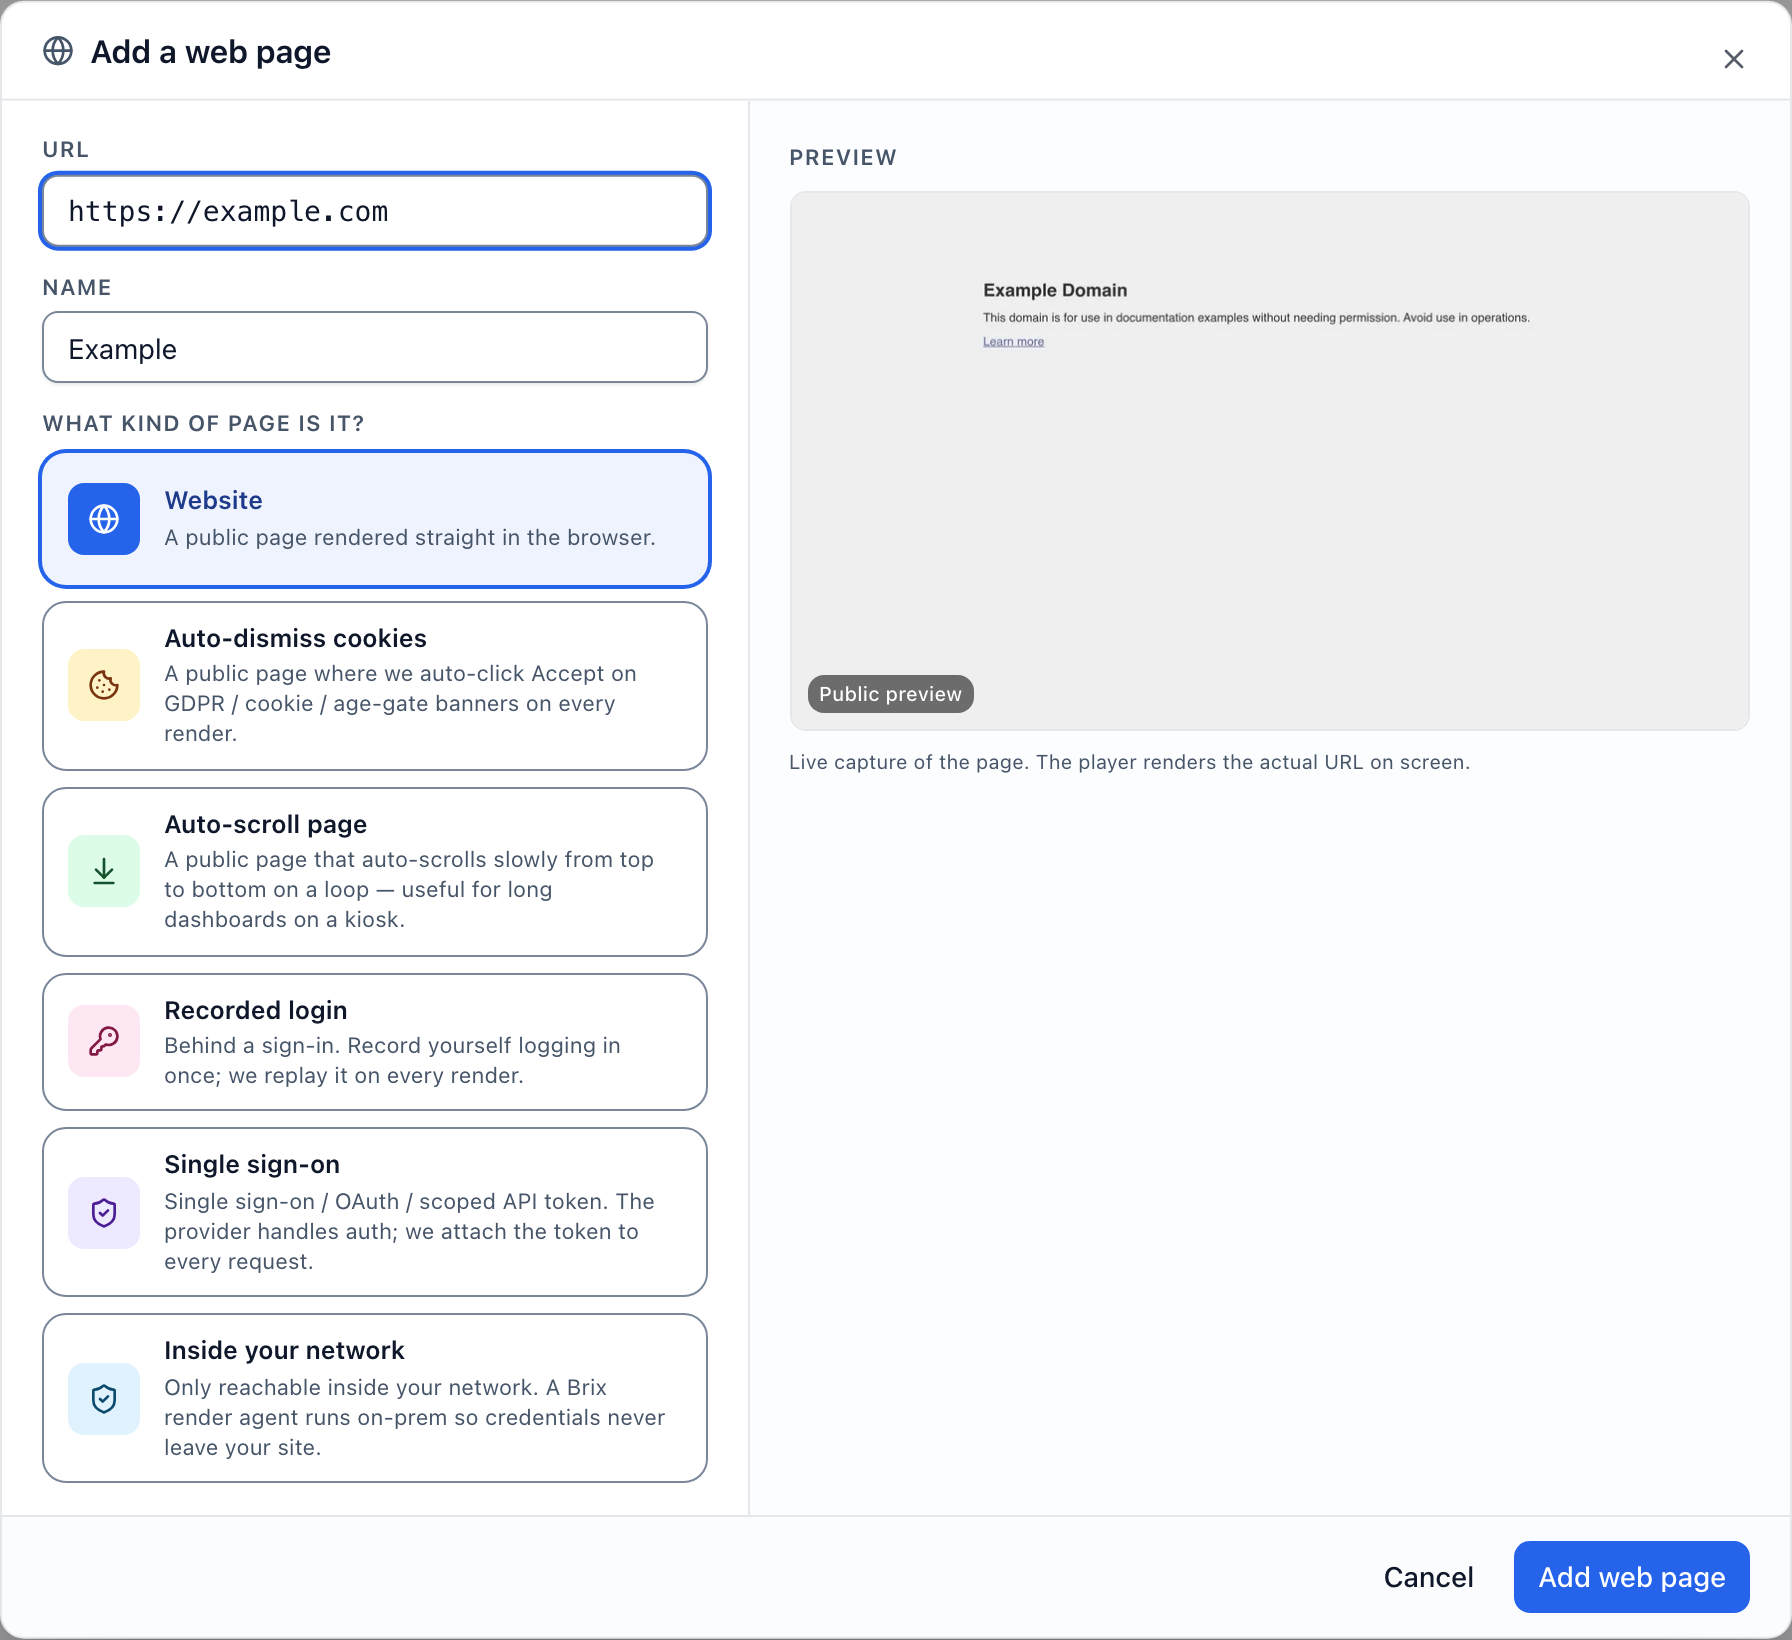
A blank preview does not mean the page fails on a screen: many sites block screenshot tools and still render on the player. To put the link on a screen, read put content on a screen, or add it to a playlist.
Manage a saved link
Select a card on the Web pages page to open the link editor. Use All, Websites, Cookies handled or Needs a login to narrow the grid.
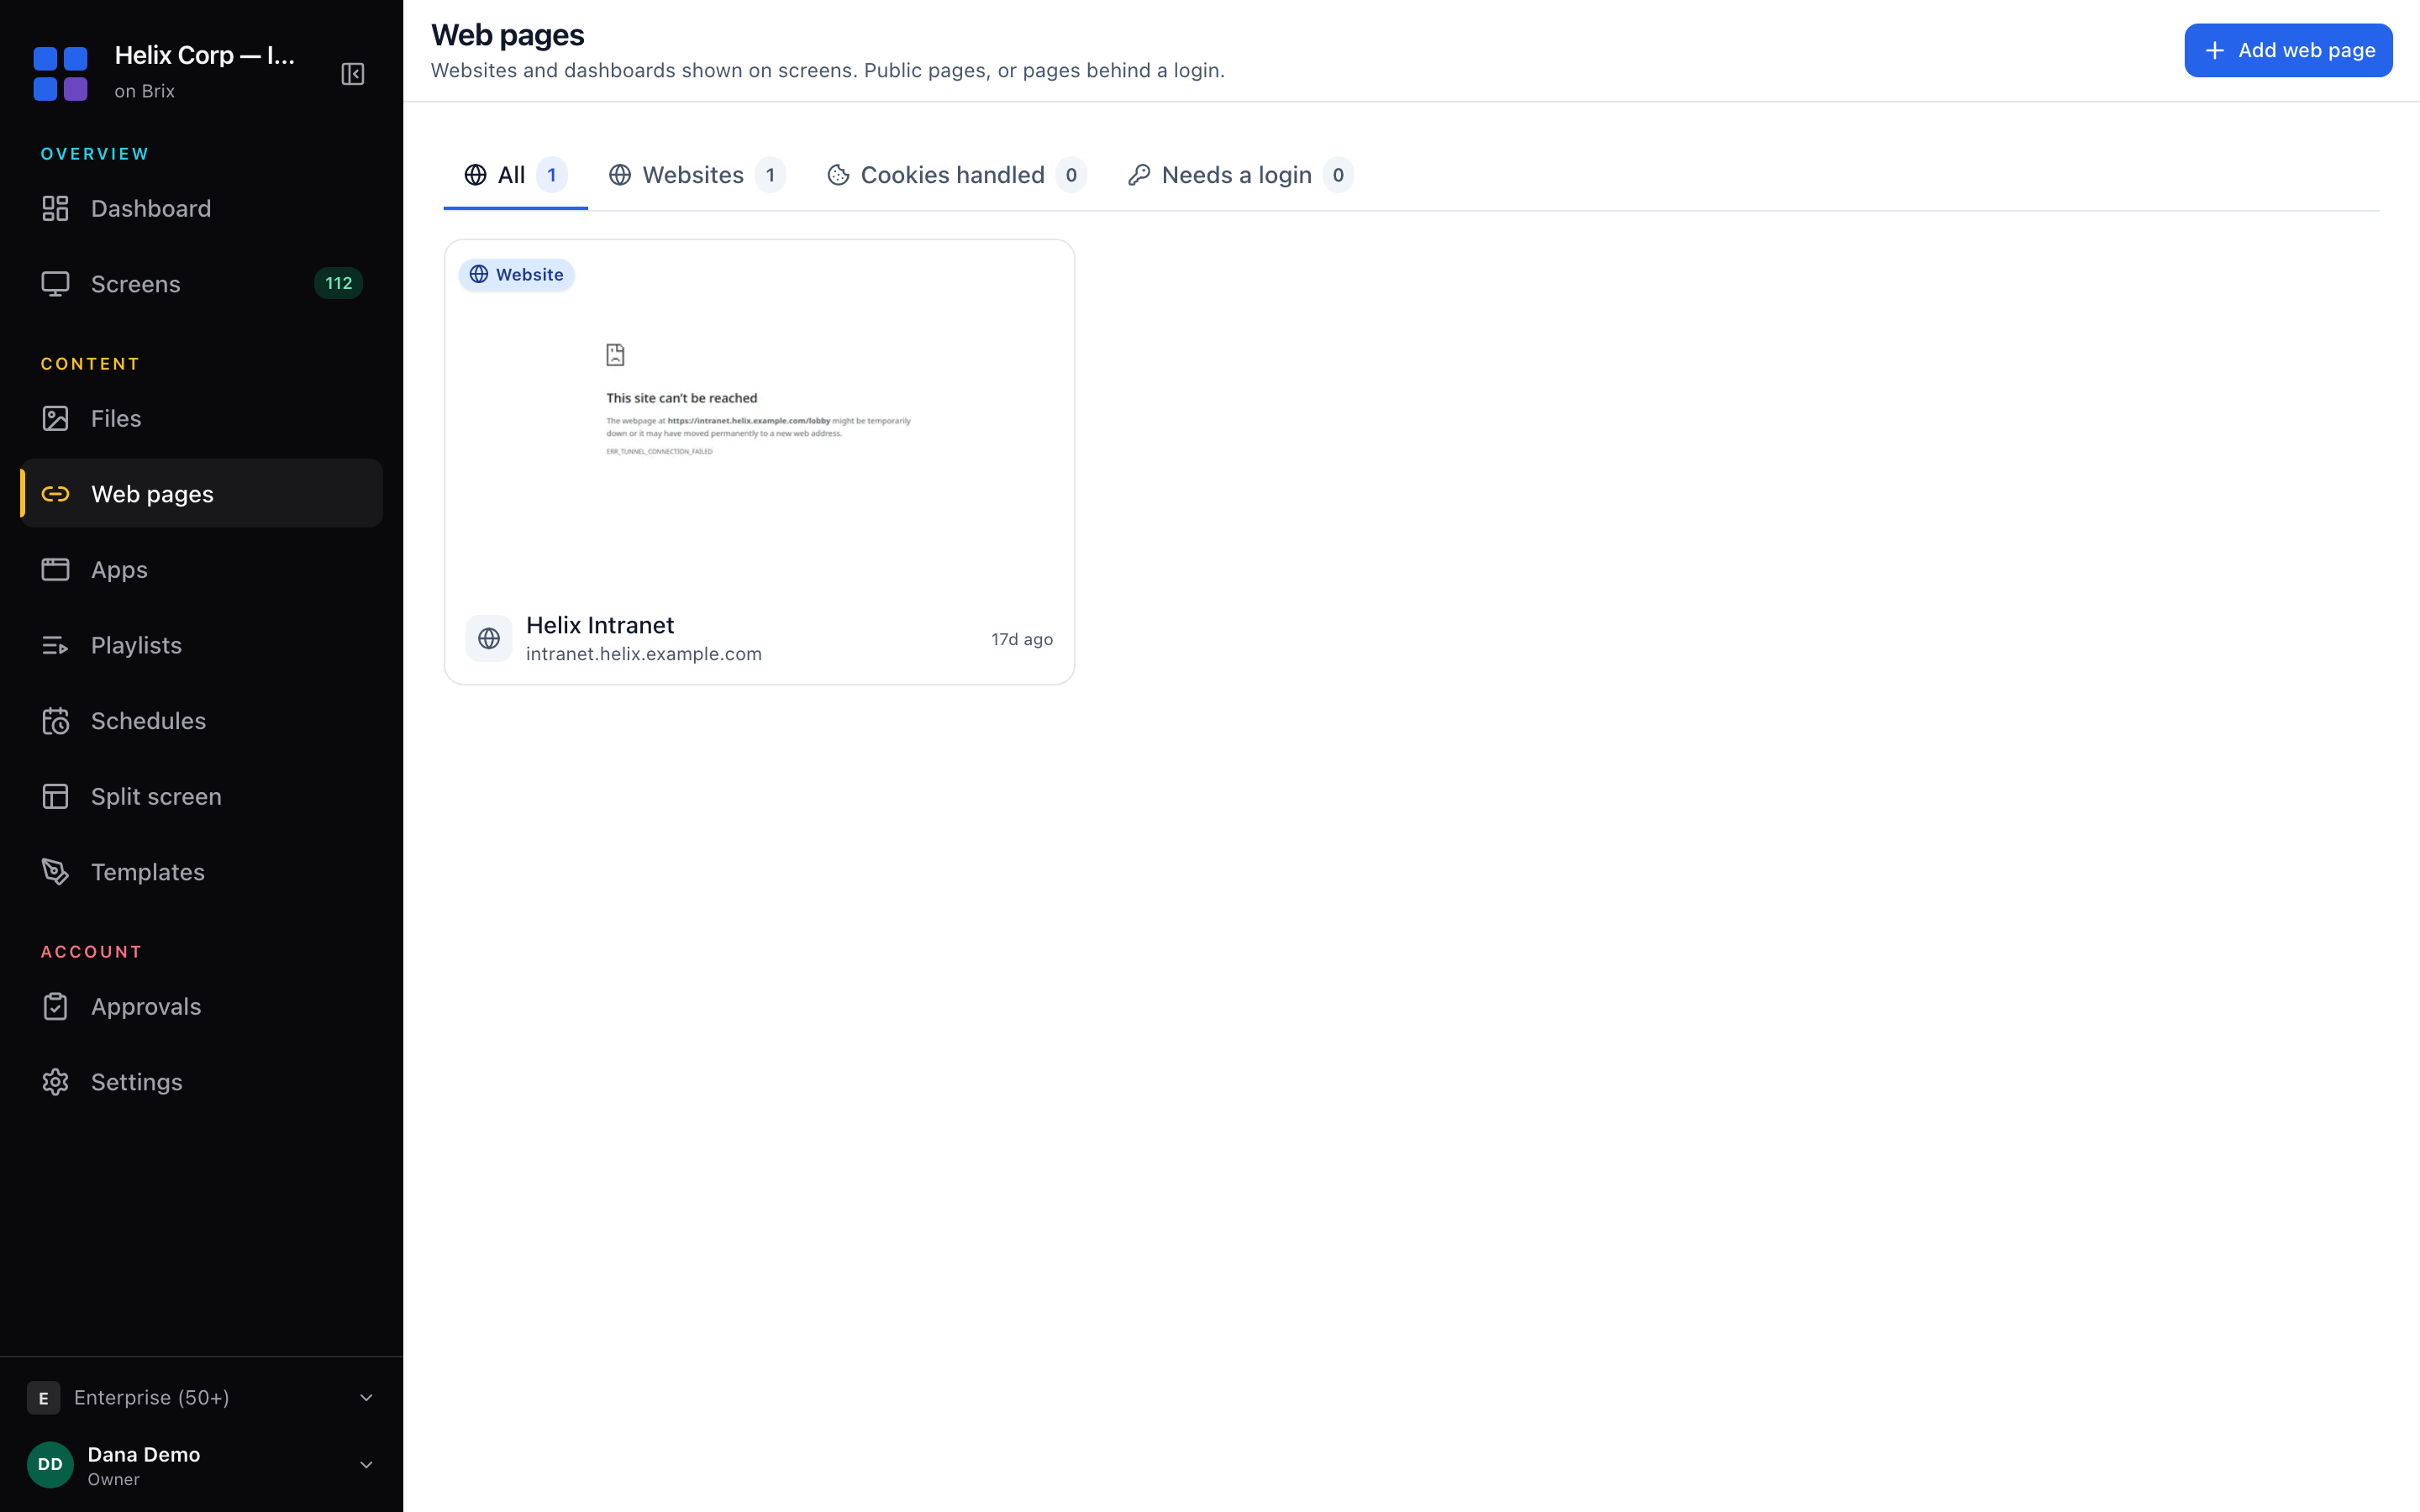
- Change the address: edit the URL field and select outside it. A QR overlay rebuilds for the new address.
- See where it plays: the Shows on row counts the places that play the link. Select See where.
- Delete: select Delete web page at the bottom. The link stays in the recycle bin for 30 days.
Why a web page shows as a picture
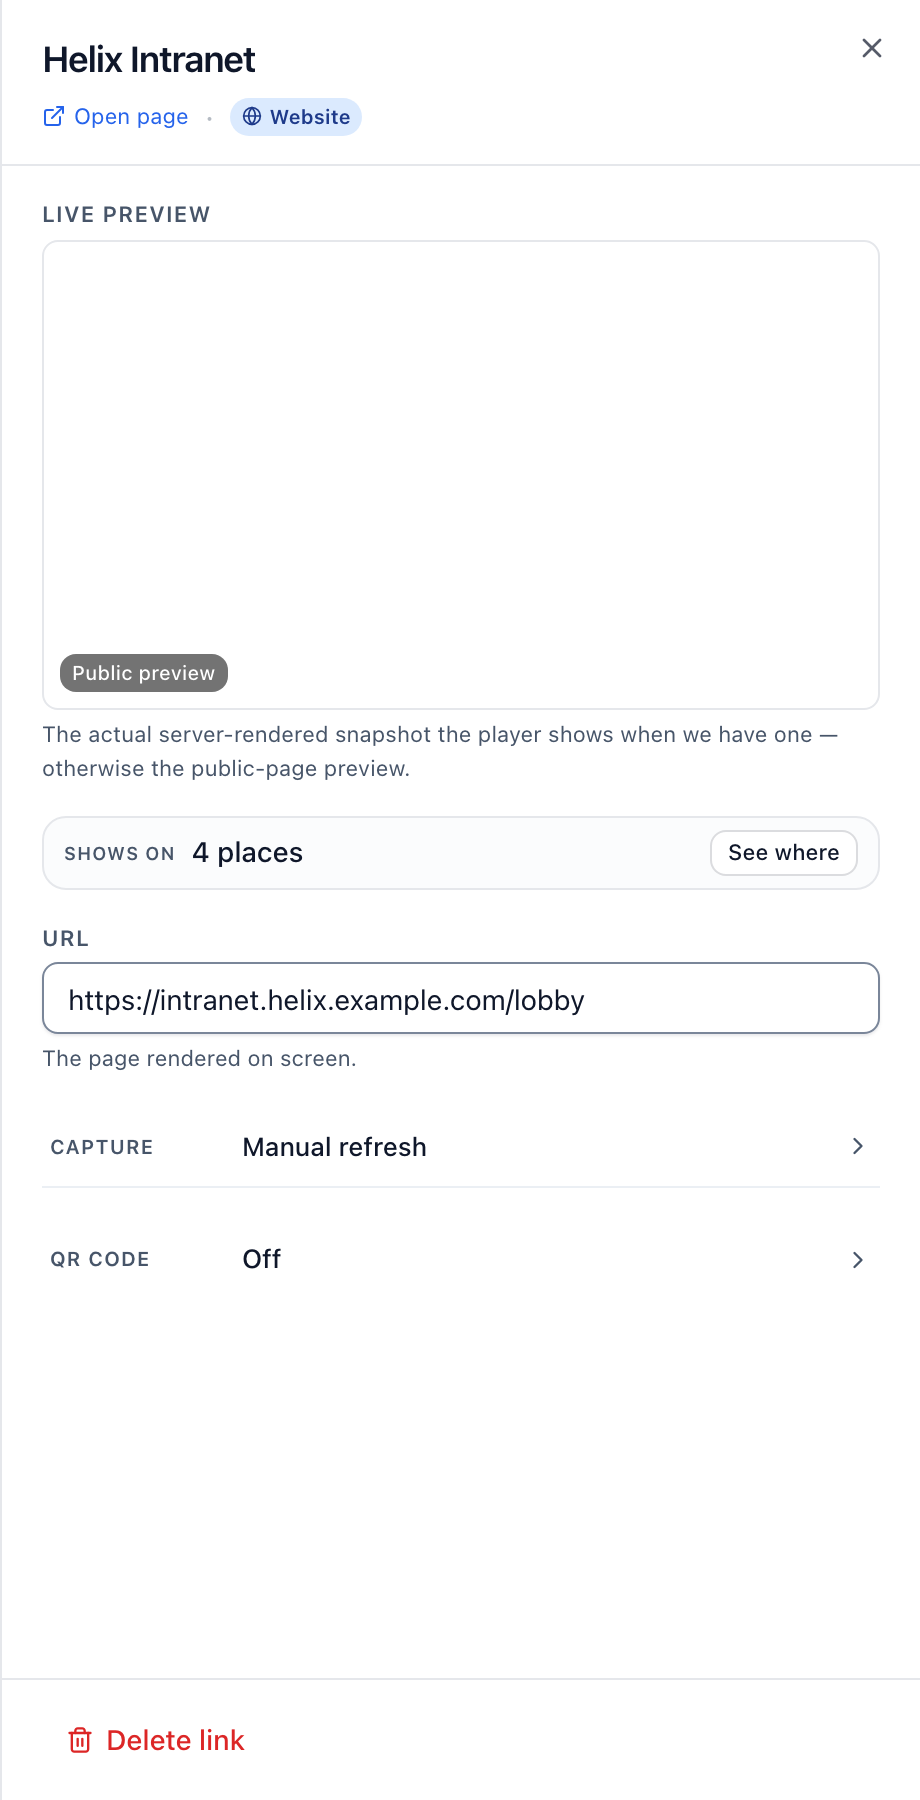
In the link editor, a colored dot below the Shows on row says what your screens show:
- Live on screens: each screen runs the page as a browser does. Slideshows and videos play.
- Live on screens, after a check: Brix checks the first time a screen loads the page that the site allows live display. Until then, the screen shows a picture.
- Shown as a picture: Brix takes a new picture at the Refresh interval. A page behind a sign-in or a token, a page cropped to one part, and a site that does not allow live display all show as a picture.
- Live on screens at that location: the page is on your own network and each screen there opens it directly.
Auto-refresh, auto-scroll and cookie banners
Expand the Capture section of the link editor.
- Cookie banners: tick Auto-dismiss cookie / consent banners.
- Long page: tick Auto-scroll the page and choose Very slow, Slow, Medium or Fast.
- Refresh: choose Never, Every 5 minutes, Every 15 minutes or Every hour. For a picture, it sets how often Brix takes a new one. For a live page, it only updates the thumbnail.
- Show only part of a page: type a CSS selector such as
#schedulesinto Show only part of the page and press Enter. Brix hides everything else. An id is the most reliable choice, because class names change when the site is republished. A cropped page shows as a picture, and a page on your own network cannot be cropped. Select Clear to show the whole page again.
To add a QR code, expand QR code, tick Show a scannable QR code and choose a corner. A viewer who scans it opens the same address on a phone.
Show a different page on each screen
- Open Screens, select a screen and find Your own details in About this screen.
- Type a name such as
storeCodeand a value such as0412, then select Add. Repeat for each screen with its own value. - In the link editor, place the cursor in the URL field where the value belongs, select Add a screen detail under the field and pick the detail.
The address then reads https://dashboard.example.com/store/{{screen.custom.storeCode}} and each screen opens it with its own value. Add a screen detail also offers the screen name, time zone and location name. A screen without that detail shows the address with the {{…}} text still in it, so add the detail to every screen that plays the link.
Show a dashboard that needs a sign-in
- Select Add web page, type the address and choose the Recorded login kind.
- Select Add and configure →. Brix renders the page on its own servers and sets an hourly refresh.
- In the Login section select Record. The recorder needs the Brix Recorder extension for Chrome, allowed in incognito. Check the pill reads Extension detected.
- Select Start recording, sign in as normal in the incognito window, then select Save sign-in on the page you want on screen.
- The recorder never captures a password. In Sign-in fields, paste each secret value, then select Verify now.
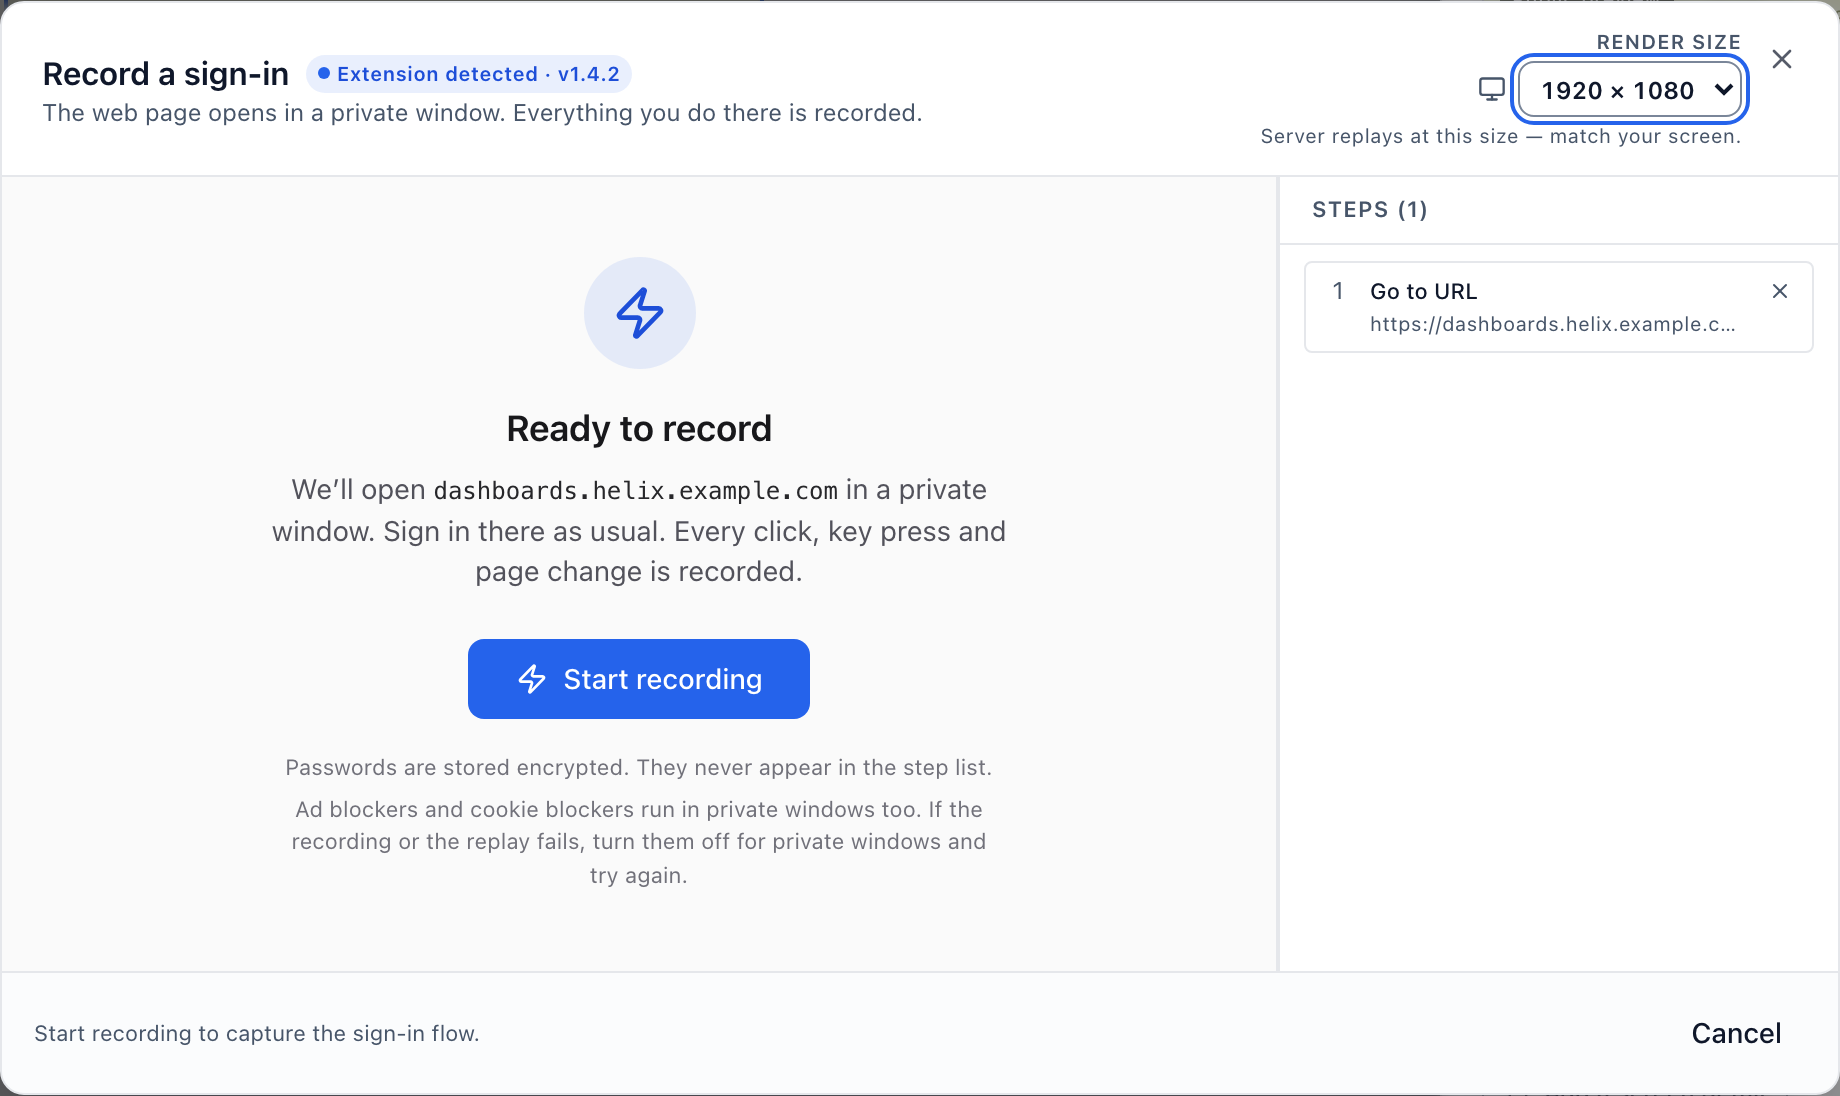
If replay stops working, open the link, read the Sign-in replay failed message and select Re-record sign-in. A site that changed its sign-in page is the usual cause. A cookie or ad blocker can spoil a recording. To keep a private dashboard out of storage, tick Do not store a thumbnail under Capture.
Token instead: choose the Single sign-on kind, expand Login, leave Paste a token selected, type the header name and paste the token, then select Save token. Use a scoped, read-only token, never a password. Or select Use SSO connection and choose one (add a connection in Settings → Security first): Brix then gets a fresh token at every render.
Show a page on your own network
- Select Add web page and type the internal address, for example
http://192.168.1.20/dashboard. - Check This page is on your own network is ticked, leave the Website kind and select Add web page.
Brix ticks the box for private addresses (10.x.x.x, 192.168.x.x, 172.16.x.x to 172.31.x.x, and names ending .local or .internal). There is no preview, because your screens open the page directly, and only screens on that site's network can show it. The Inside your network kind uses a render agent at your site for a page that needs a sign-in, and needs our help to set up.