You do not need a video editor to animate digital signage: signage software can animate each part of a design (the headline slides in, the price pops, the photo slowly zooms) and play it live on the screen. Keep it to one or two moving parts per slide, let everything settle within about two seconds, and hold the finished slide long enough to read.
In Brix, open the design in the Creative Canvas editor, select the Animation tab and pick a preset under Quick presets. Then tune each layer, and place every layer on the timeline. Build the design first: read design a sign.
Motion that helps, and motion that hurts
- Animate the entrance, then stop. Text that keeps moving is hard to read. Save looping effects (a slow zoom on a photo, a pulse on a price) for one layer.
- Stagger, do not stack. Bring in the headline first, the detail next and the call to action last, a fraction of a second apart.
- Mind the slide length. If a slide shows for 8 seconds and the animation takes 4, the finished slide is readable for only 4.
- Test on the real screen. Fast motion that looks smooth on a laptop can stutter on a low-cost player.
Animate the whole design with one preset
- Open the design and select the Animation tab in the right rail.
- Pick Cascade, Promo pop, Spotlight or None under Quick presets.
- Select Replay on the timeline dock handle to watch it play.
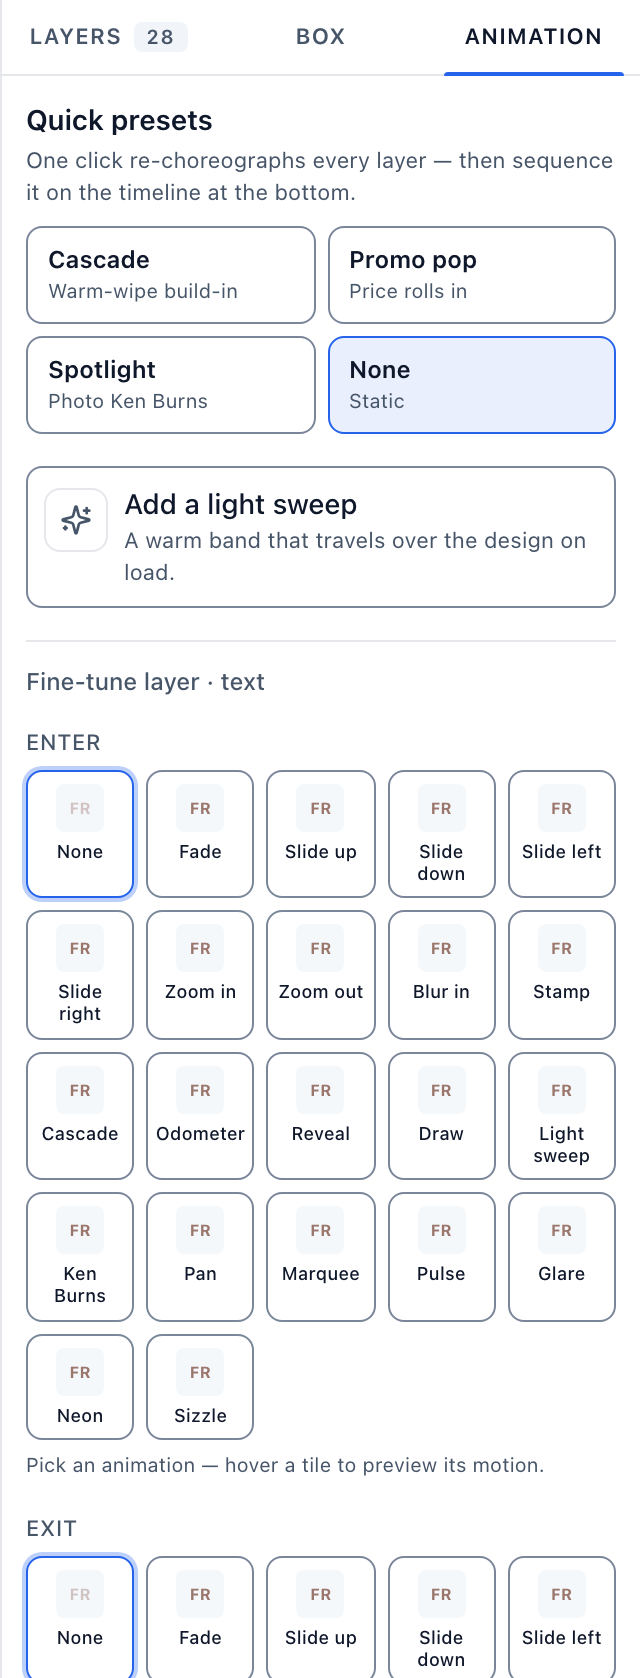
A preset re-stamps every layer, including layers inside groups, and overwrites any timing you set by hand.
Animate one layer in and out
- Select a layer on the canvas or in the Layers panel, then open the Animation tab.
- Pick a tile under Enter. The caption under the grid explains the effect.
- Type a duration and a delay in milliseconds.
- To animate the layer out, pick an Exit effect the same way.
Swapping an entrance for a looping effect resets the duration to the new default.
Set timing on the animation timeline
- Select the Timeline tab on the dock handle at the bottom of the canvas.
- Drag a layer's bar sideways to change when it starts, or drag its right edge to change how long it runs.
- Press the play button on a track to preview that layer alone.
- Select Stagger to cascade every layer 110 milliseconds apart, in track order. It skips looping layers.
- To reuse an animation, select the copy button on a track, then the paste button on each track that must match.
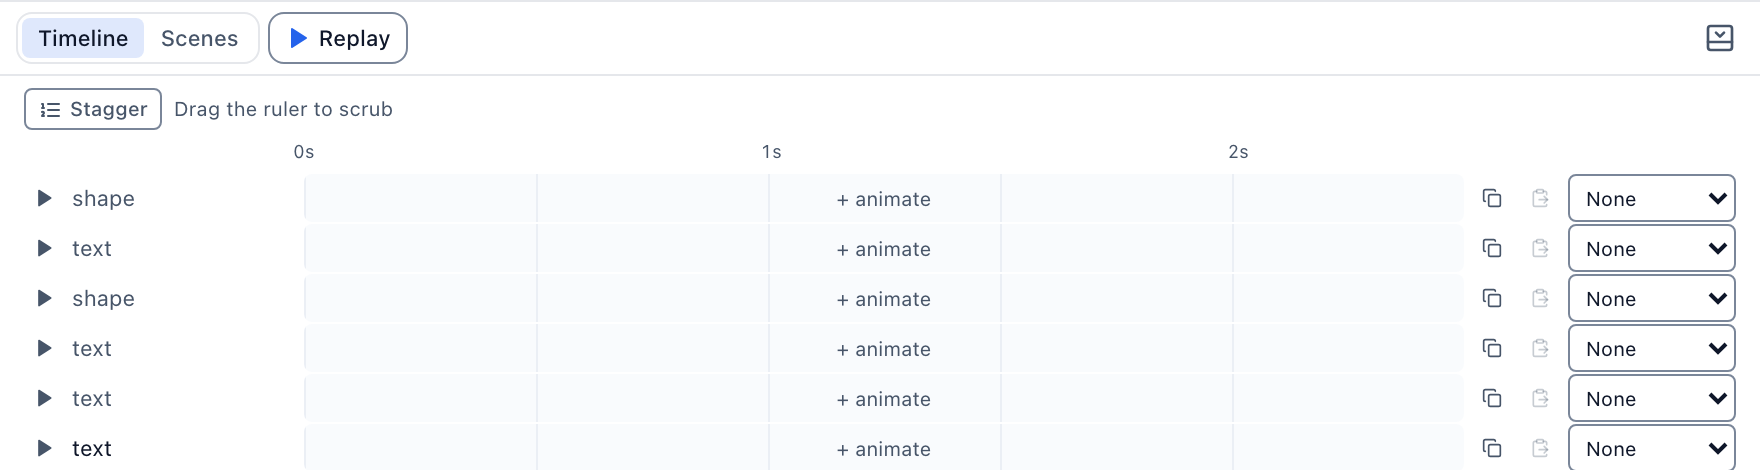
A looping effect such as Ken Burns, Pan, Marquee or Pulse fills the whole track, so its bar does not drag. The dock starts collapsed each time you open a design.
Inspect a single frame
Drag along the ruler above the tracks to park the playhead. The canvas freezes at that moment. The left and right arrow keys give finer steps, Escape releases the playhead, and the resume chip starts playback again.
Add a light sweep
Open the Animation tab and select Add a light sweep. Drag the new layer over the part of the design the band must cross, and set its duration and delay on the timeline.
Put the motion on a screen
Save the design, then add it to a playlist or put it on a screen. To hand the design to another team and control what they may change, read share a locked template.