To share digital signage content across locations, keep one central playlist that head office owns and let each location use it, instead of copying files into every store's account. The common model has two layers: central content that plays everywhere, and a fixed slice of airtime that each location fills with its own local content. Access controls decide who can change what, so a store manager cannot edit the brand campaign and head office does not have to post every local notice.
In Brix, use Share on a playlist to let other locations play it, and Shared airtime to give each location a share of the playlist to fill. To build the playlist first, read build a playlist.
Share a playlist with other locations
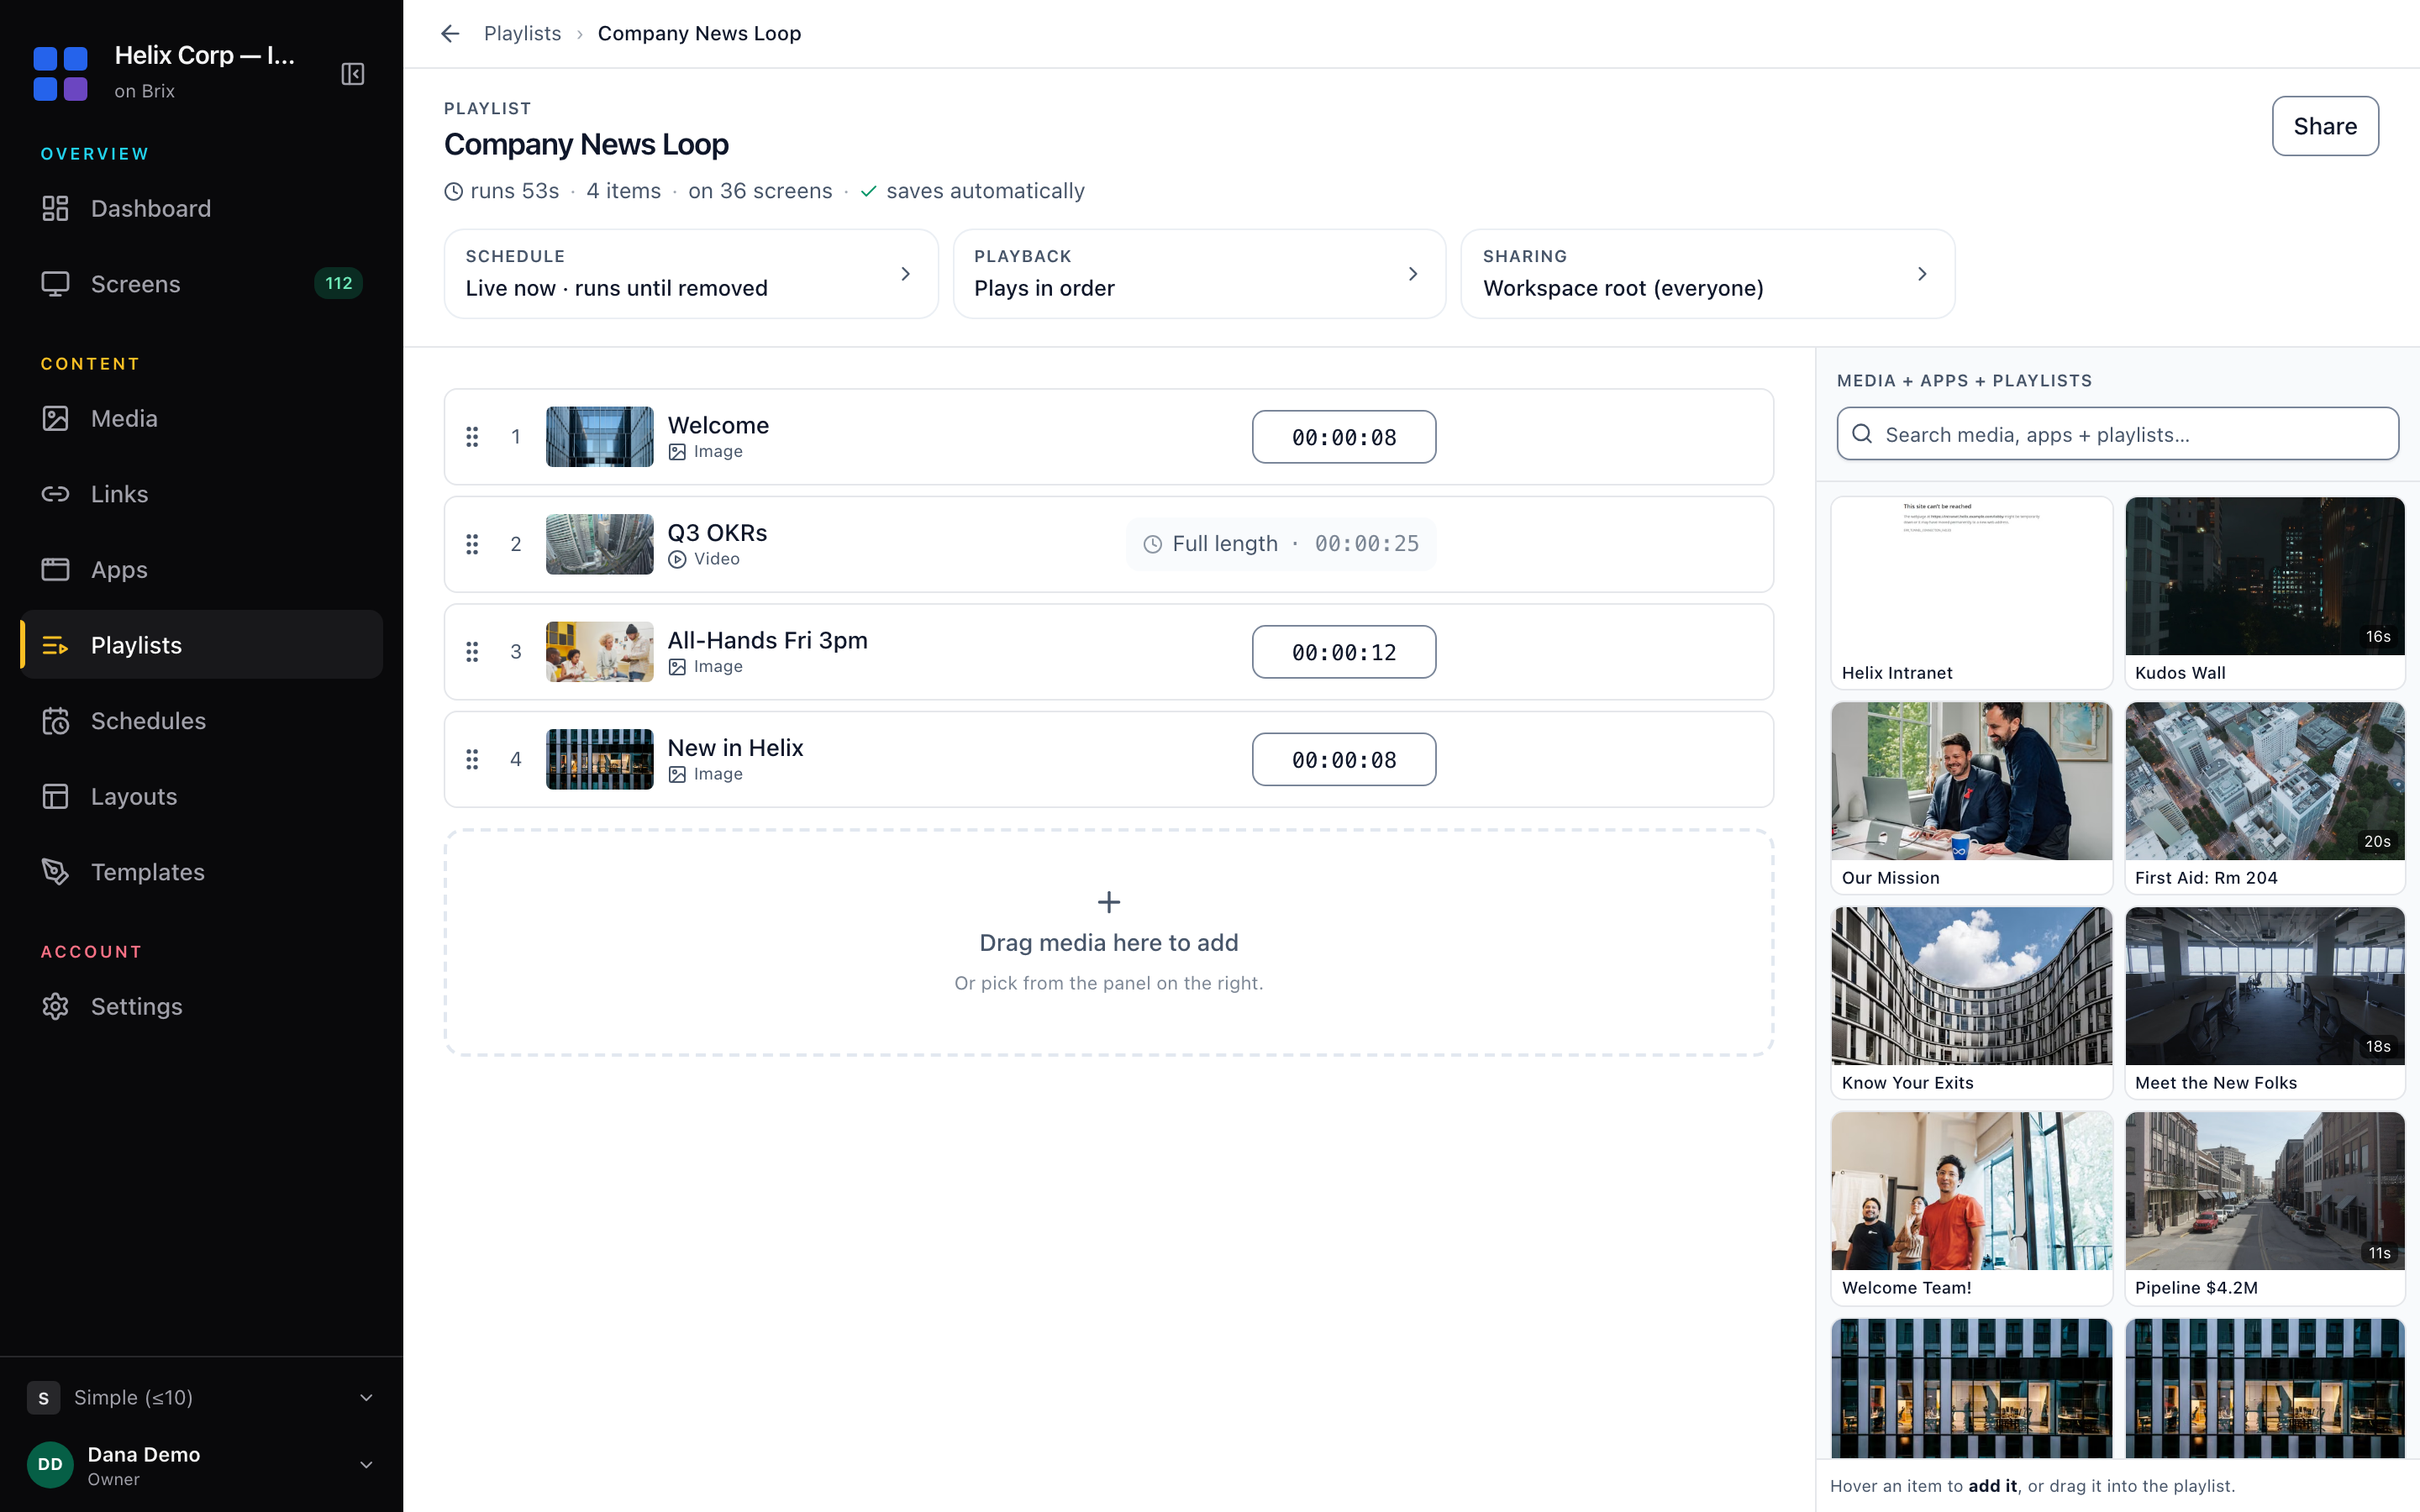
- Open the playlist in Content > Playlists.
- Select Share at the top right. It appears only for people who can edit the playlist.
- Choose Only me, Everyone in this workspace, or Specific locations, roles or people.
- For specific locations, tick them under Locations.
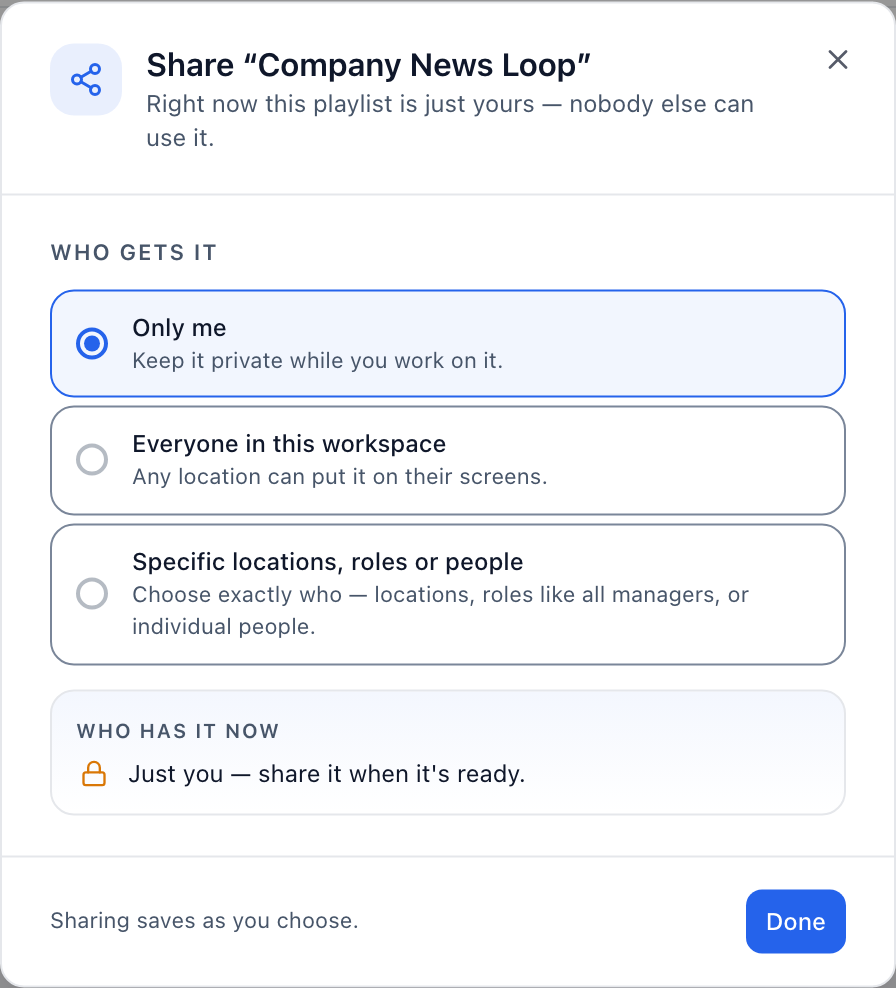
Choices save as you make them. To stop sharing, untick the location or choose Only me. The playlist stays one playlist: when you change it, every location that plays it gets the change.
Give each location airtime for local content
Shared airtime gives each location a percentage of the playlist that it fills with its own content. The share plays only on that location's screens; everywhere else, your content plays. It is on by default in workspaces set up for more than 10 screens; any workspace can turn it on under Settings > Organization > Feature defaults.
- Open the playlist and select the Shared airtime card under the header.
- Set the share every location gets.
- Select Choose locations... and tick the locations that get a share.
- To give one location a different share, select Add exception.
- To review their content before it airs, turn on They need my approval before it airs. Then read digital signage content approval.
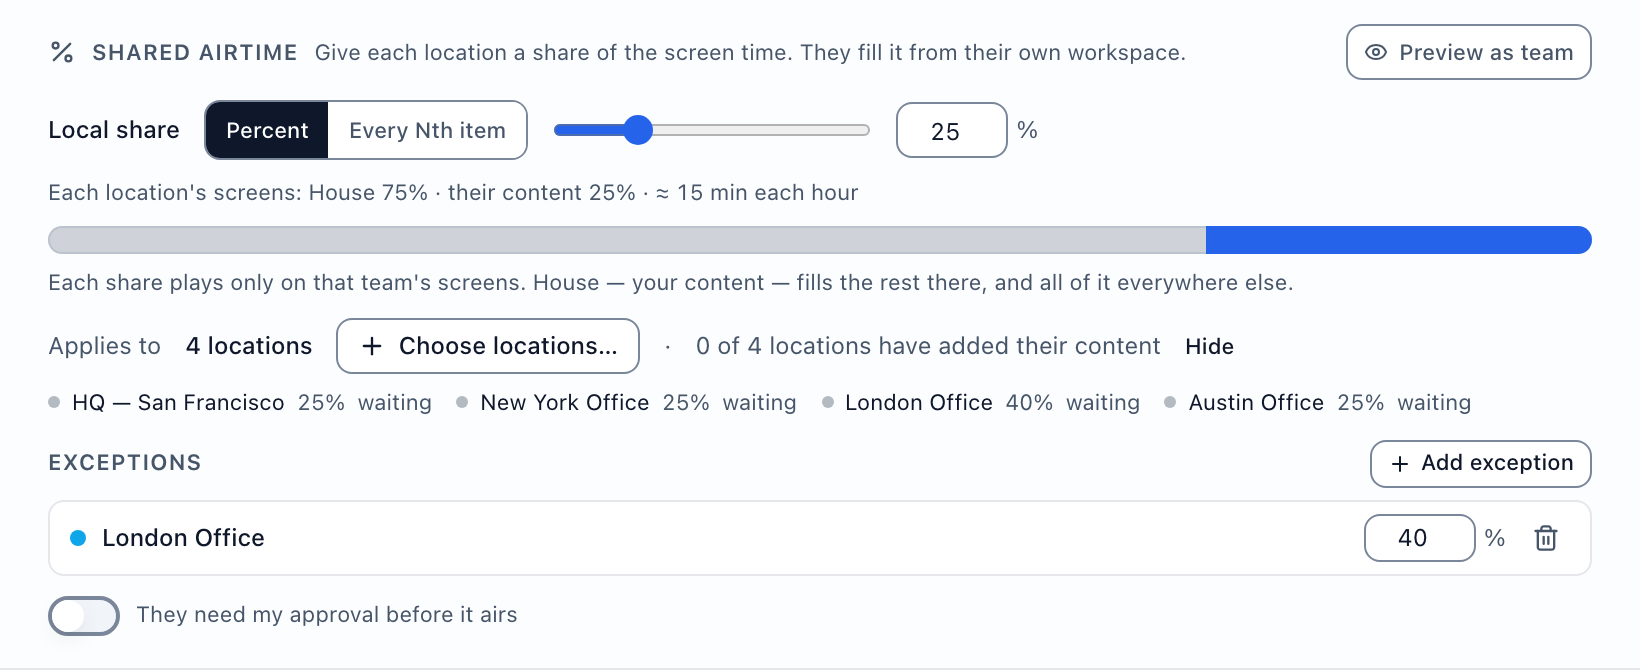
House is the airtime left for your own content. Shares on a region and a store inside it add up, capped at 99 percent, so House keeps at least 1 percent. Airtime a location does not fill goes back to House. To stop sharing with a location, untick it under Choose locations....
Fill airtime another team shared with you
The Shared with you section at the top of Content > Playlists appears only while another team shares airtime with yours.
- Find the card. It shows the size of the share and reads Needs approval before airing or Airs as soon as you publish.
- Select Add your content. Brix creates a playlist in your workspace and opens it.
- Add your media in the editor.
To use a playlist you already have, select the chevron beside Edit your content and pick it under Fill this airtime with. Stop filling this airtime hands the airtime back and keeps your playlist. The owner sets the size of the share. You choose only what fills it.
Hand one playlist slot to a group
Use this when one item belongs to another team and the rest of the playlist stays yours. A group on an item reserves no airtime.
- Open the playlist and move the pointer over the item row.
- Select the Share pill on the row.
- Pick the group under Share with one group. To give the slot back, pick Everyone.
An item belongs to one group at a time. To create groups, read organization, people and roles. Preview as team in the playlist header shows what a group sees: other groups' slots read Reserved slot.
See what another workspace plays on your screens
The Shared with us section at the top of Content > Playlists lists content another workspace shares with yours, including layouts and schedules. The cards are read-only: only the owning workspace can change or remove the content. No longer available means the owner deleted it.
Grant content down the organization tree
A parent workspace can share a playlist, layout or schedule with a child workspace at /settings/sharing. The page has no entry in the Settings menu and takes raw workspace and content IDs. It has no revoke control: contact Brix support to remove a share.
Which tool to use
- The same content on every screen: Share the playlist.
- Central content plus a local slice: Shared airtime.
- One design that stores adapt (a price, a headline): share a locked template.
- Keep head office and store screens apart, or limit a store manager to their own store: set up locations and roles in organization, people and roles.